I got a new Ikea Skruvsta chair this year, and discovered the seat is practically as hard as a rock (my other Skruvsta chair from 2013 is better padded…and rolls better, too). I had this beautiful fat quarter, which was just wide enough to cover the seat, provided I didn’t need any seams!
I couldn’t get any more of this fabric, so unless I was willing to use some other fabric altogether, I had to figure out a way to make this work.
I decided to use some red leftover cotton to create a sidewall/border, and some white scrap for the two pieces on the bottom. Winging it, really.
I began by tracing the shape of the chair’s existing cushion onto a piece of 22 x 22 x 2″ densified polyester cushion, then cut that with scissors, cutting through about half the thickness at a time. The 2″ stated thickness of this stuff is overestimated, and it also squishes down over time, so my plan was for a cushion not much thicker — if any — than the existing chair cushion.
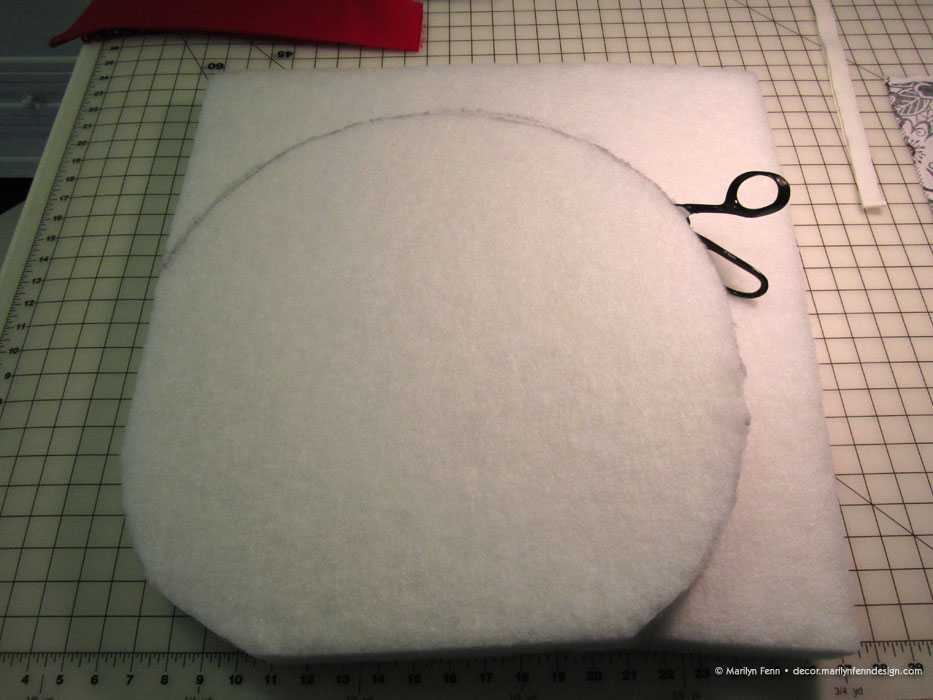
Cutting chair cushion
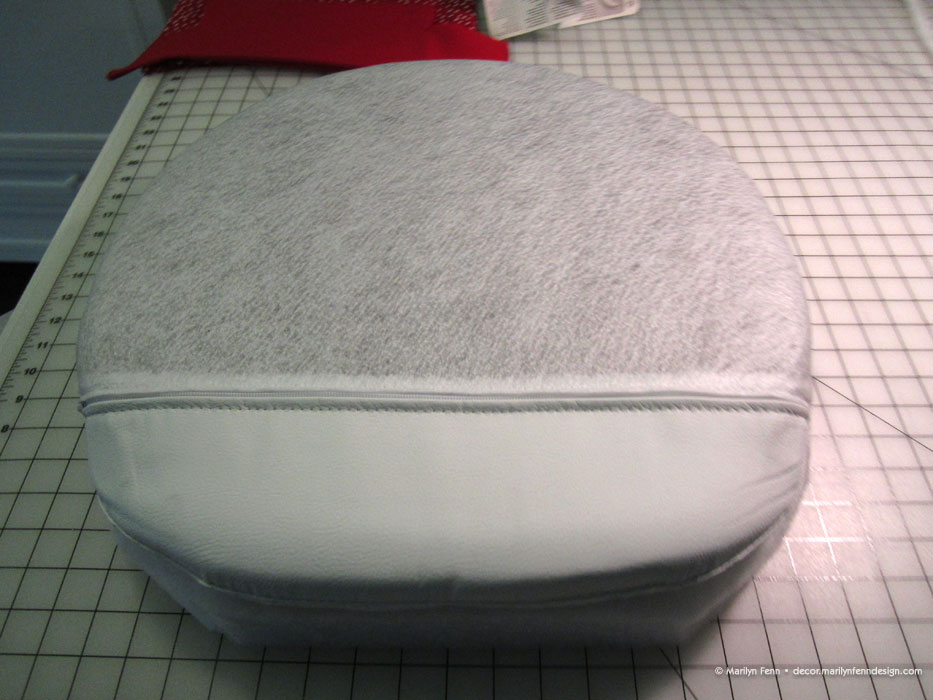
Measuring chair cushion against Ikea chair cushion
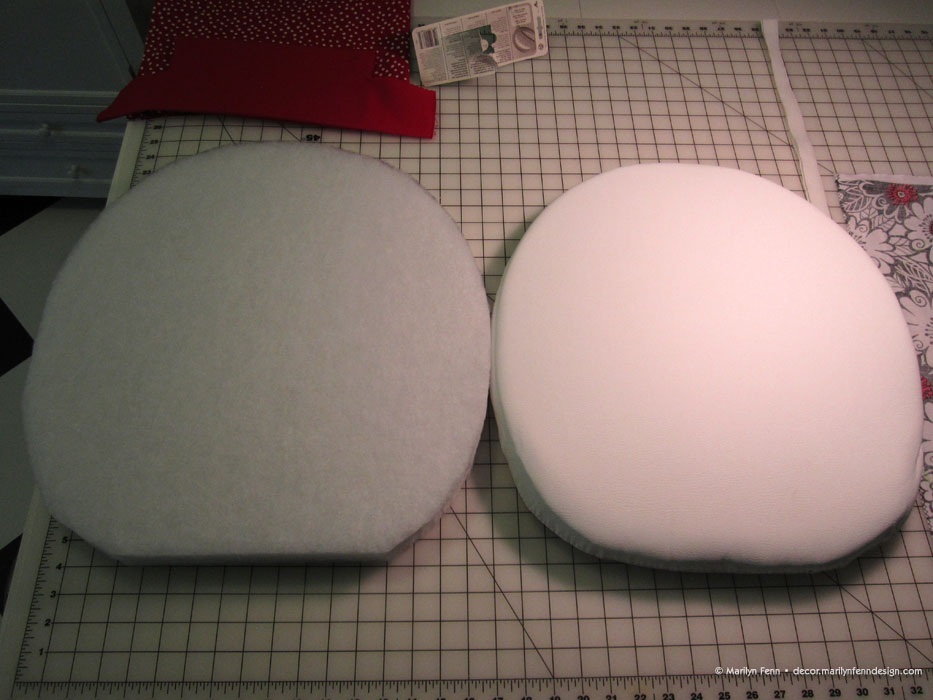
Cushions side by side
Next, I traced the shape onto a piece of tracing paper, and cut out the top piece and the bottom two pieces at once.
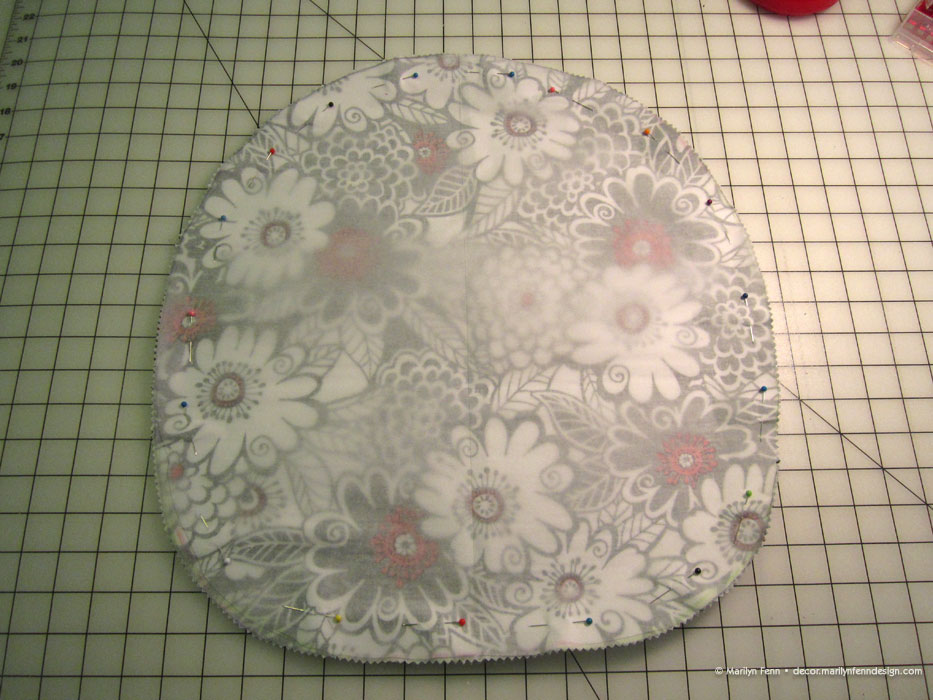
Pattern made from original, fabric cut from pattern
Using scrap for bottom of chair
I then cut a strip of 2.5″ red fabric for the sidewall, and two more 5″ wide pieces to trim the opening on the two white pieces.
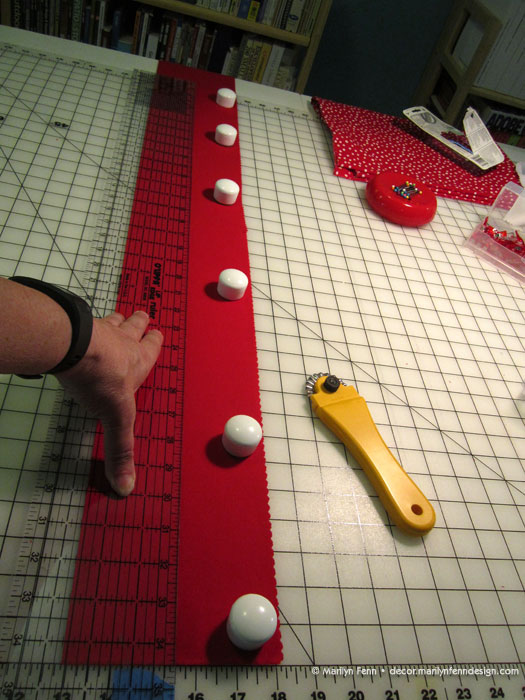
Cutting red fabric for chair cushion sides
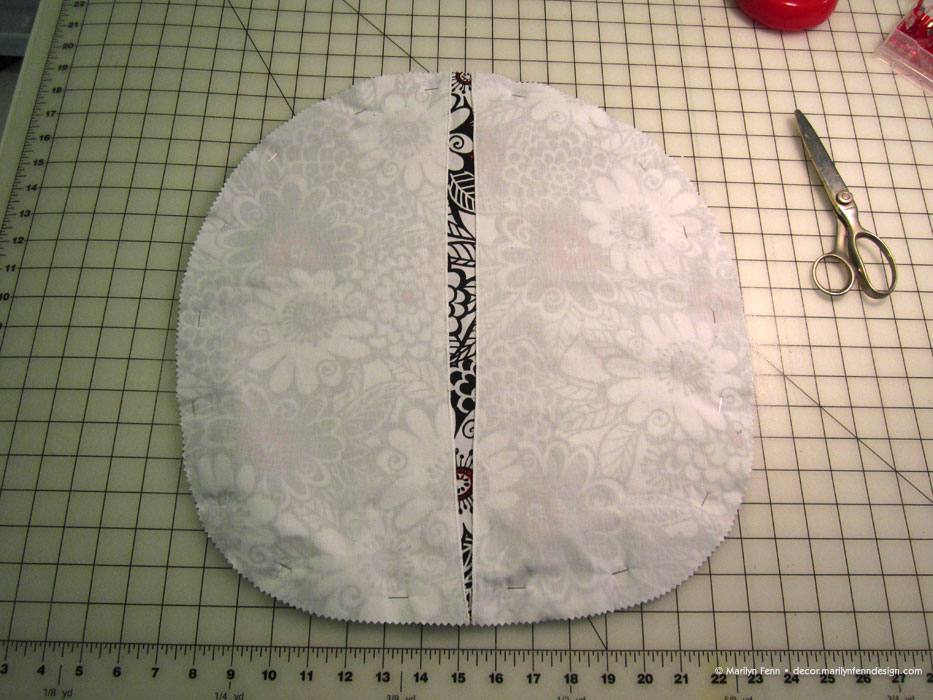
I carefully clipped the long strip to the edge of the top piece, allowing the extra length to remain until after sewing, so I could make sure I didn’t lose any length to any possible mismatch from fabric stretching around the curve.

Pinning cut fabric to chair cushion top
In sewing the two pieces, I had to adjust for some slack in the red fabric.
Fabric stretched a bit while sewing around the curve
Fabric stretched even more by end of curve
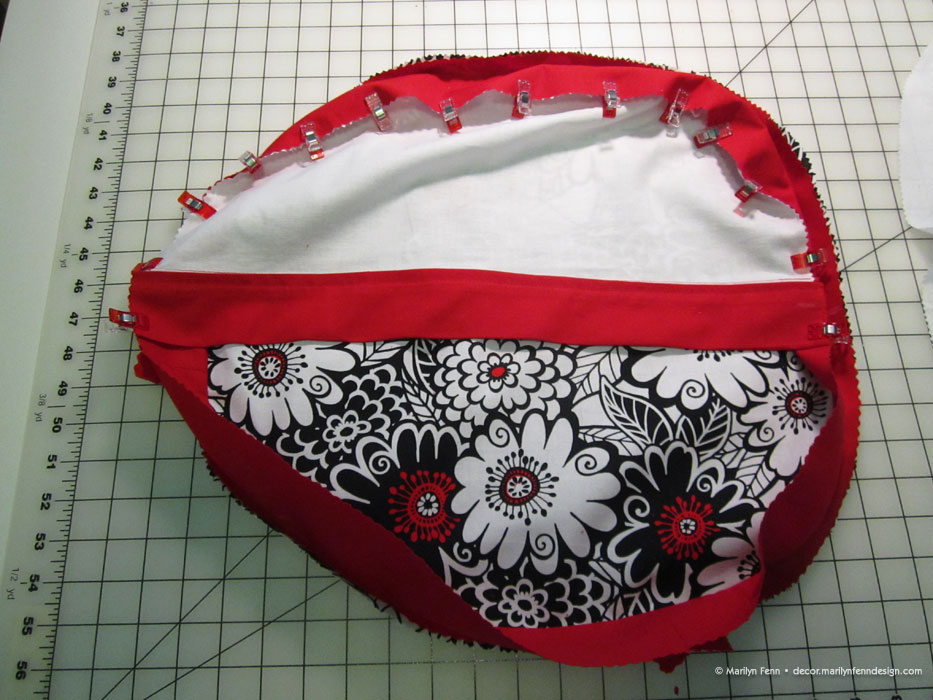
I then test fitted the two bottom pieces against the top and sides of the cushion cover.

Test fitting bottom piece
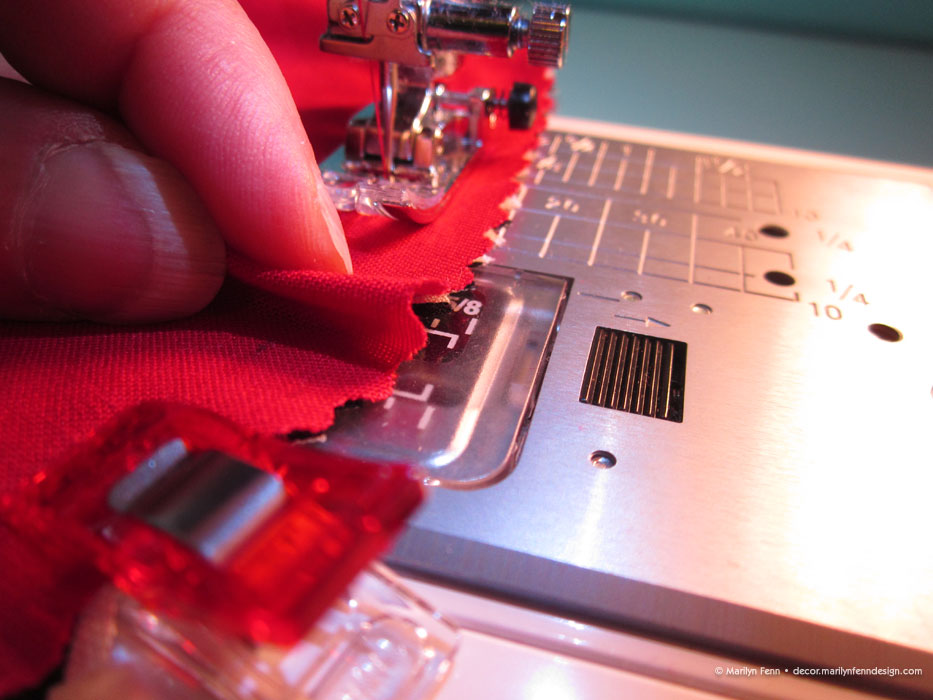
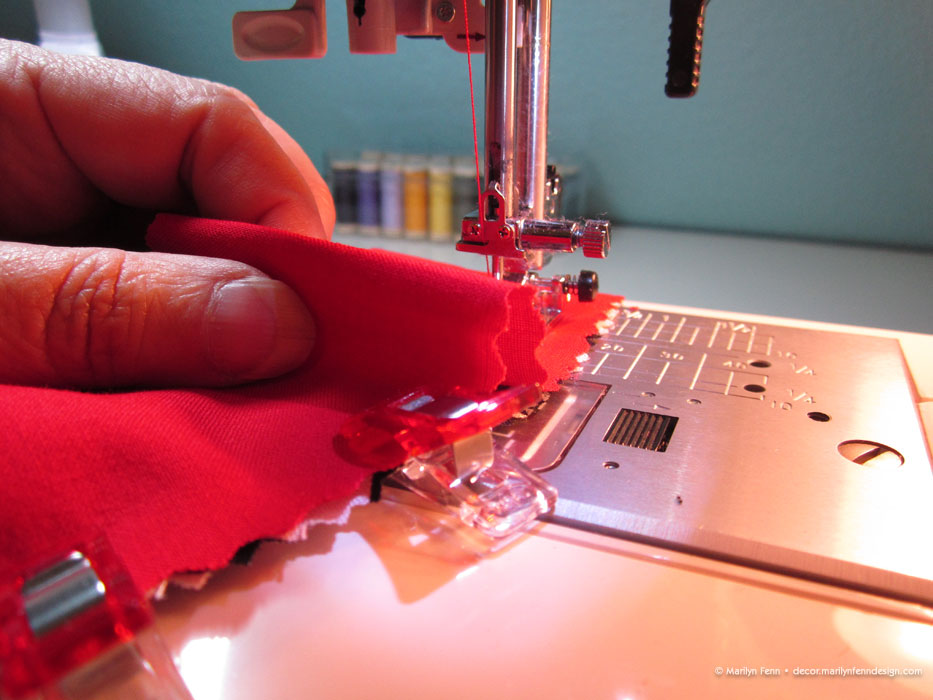
I folded the bottom trim pieces in half before adding them to each of the bottom pieces, then ironed in another fold for a seam allowance on the loose edge, and sewed it down.

Clipping opening trim to one of bottom pieces

Two bottom pieces with overlapping trim attached
I made sure to line up the center line of each of the two bottom pieces with the the centerline of the top piece before sewing them together.

Checking for center line among the 3 pieces
First half of bottom clipped and ready to sew
Once all the sewing was completed, I turned the whole thing right side out, and then pressed the seams toward the sidewall. I folded the cushion in thirds to insert it into the new cover, allowing/encouraging it to spring open inside the cover. I pulled the cushion into place inside the cover. A final smoothing of the cover over the cushion, and I was done.
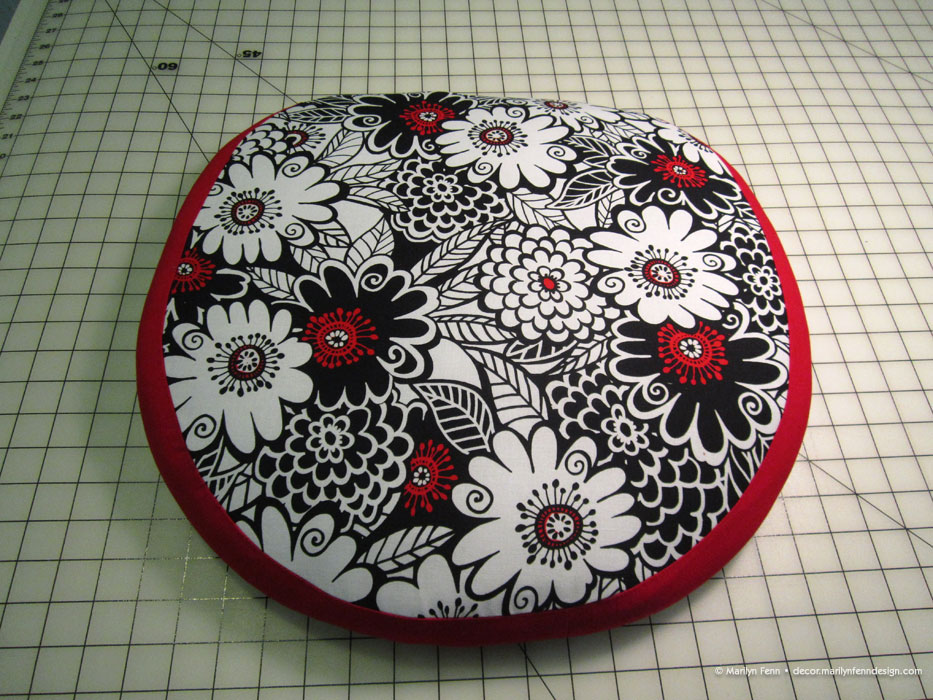
Cushion completed for Ikea Skruvsta chair
Here’s the new cushion in place.
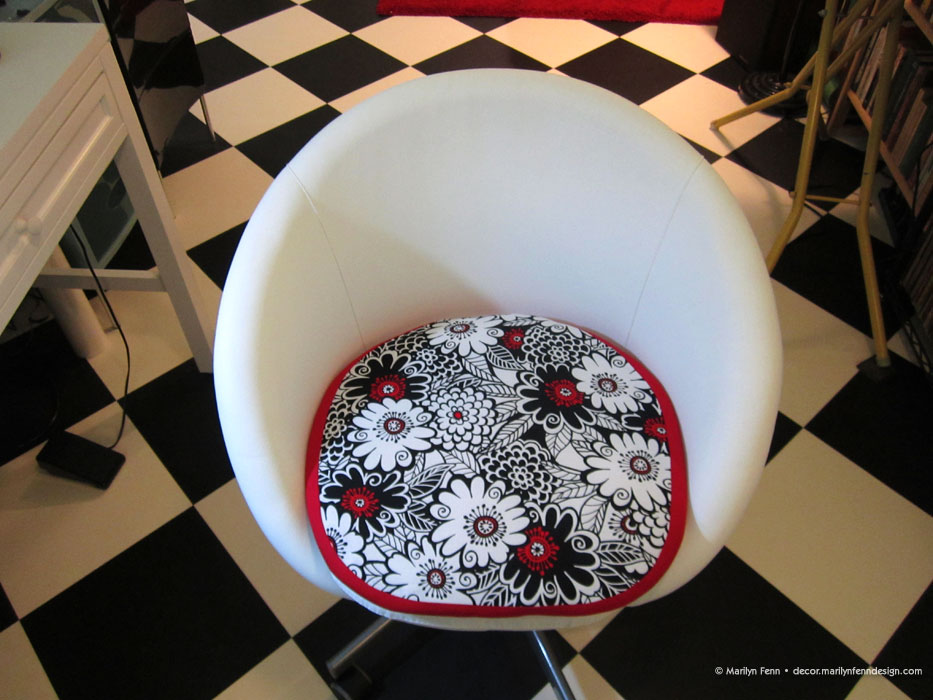
Cushion in place on Ikea Skruvsta chair
Thanks to the use of scraps and a fat quarter, I can now sew in comfort and beauty. 😀

Leave a Reply