I’ve got great instructions for sewing piping onto pillows, and also for installing invisible zippers, but now that I want to make a set of pillows with both piping and invisible zippers, I’ve discovered the instructions for doing each conflict with each other. Usually to sew in an invisible zipper, I baste the two pieces of fabric together first at 1/8″ further out from the seam allowance line (i.e., 3/4″ rather than the 5/8″ seam allowance). Then I press the seam open, and stitch in the first half of the zipper teeth using a concealed zipper foot, and then follow the rest of the invisible zipper instructions that came with my concealed zipper foot.
On the other hand, to add piping, I baste the piping in place exactly on the seam allowance line. When I tried to combine both of these processes, I discovered the basting at the 3/4″ line caused an unwanted gap between the placement of the zipper teeth and the piping. It took me three pillows to figure out a better way to do this, so I’ve documented my lab notes here, in case they will help anyone else — plus I’ll be able to refer back to these notes the next time I make this kind of pillow — by which time, I’m sure, I will have forgotten the steps I took.
The process I found that worked best for me began with basting the piping in place on one half of the pillow, then sewing the first half of the zipper in place directly next to the piping before basting the two sides of the fabric together, as one would normally do when installing an invisible zipper.
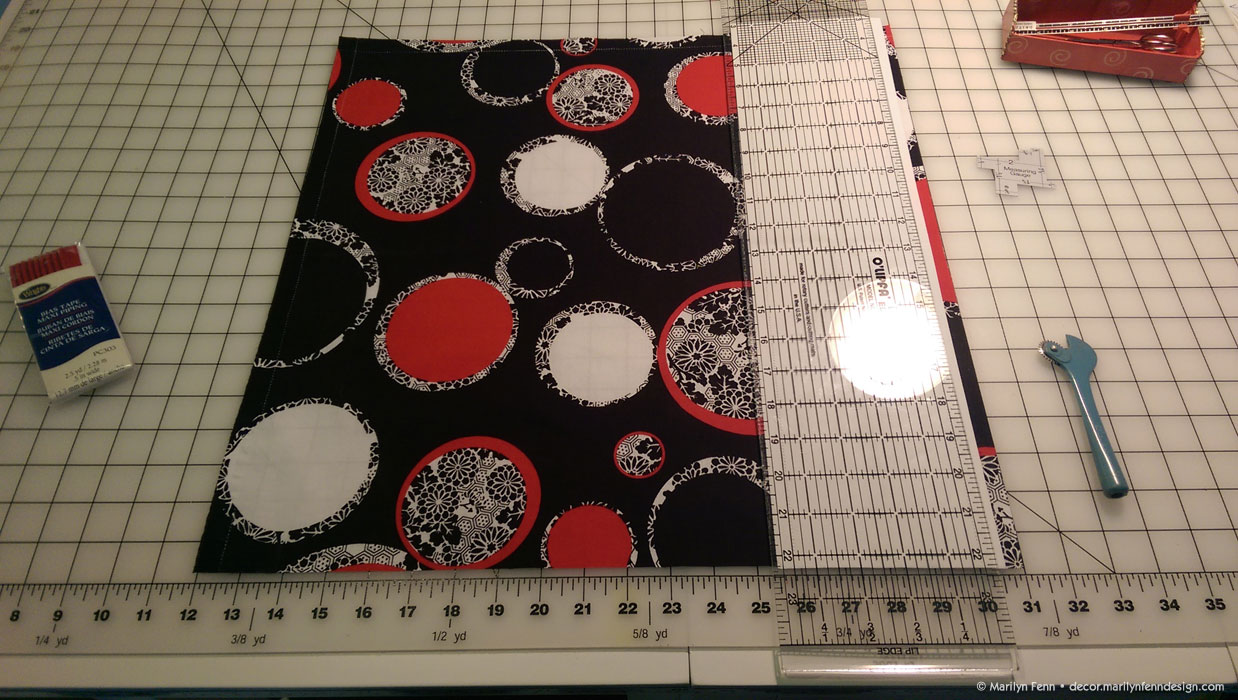
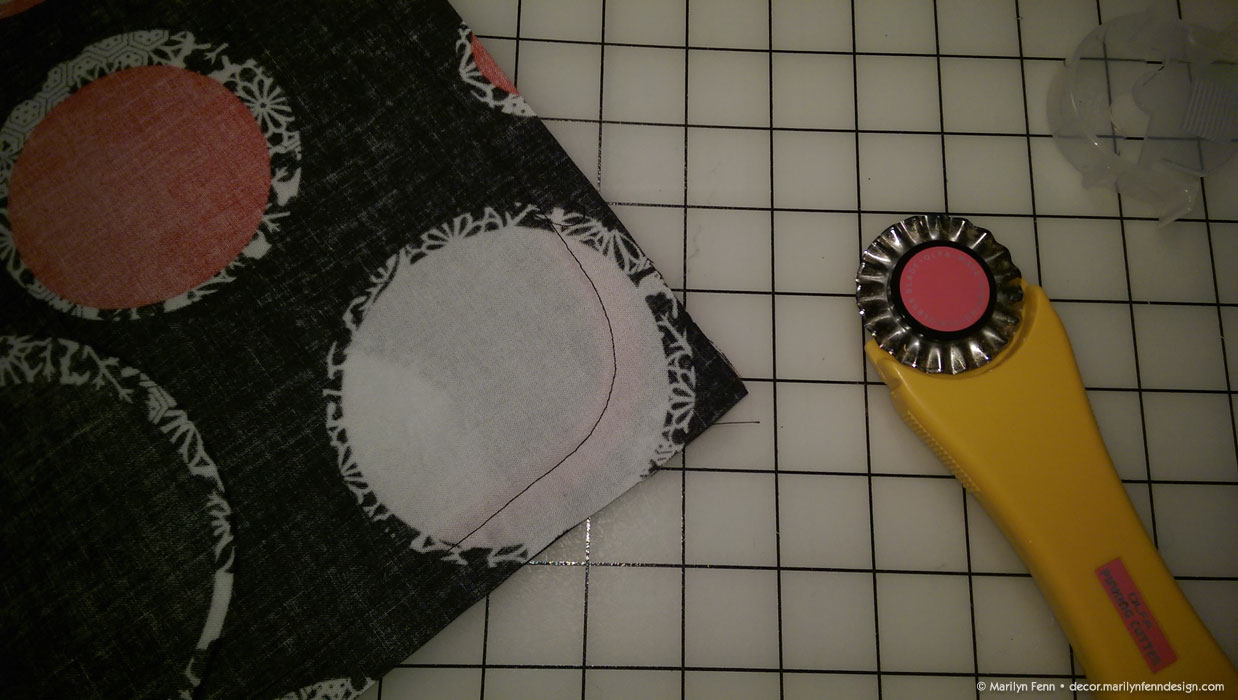
Mark the seam lines on right side of fabric
Step One: After cutting out your pillow fabric, mark the seam lines on the right side of one side of the pillow fabric, using tracing paper or another erasable/impermanent marker.
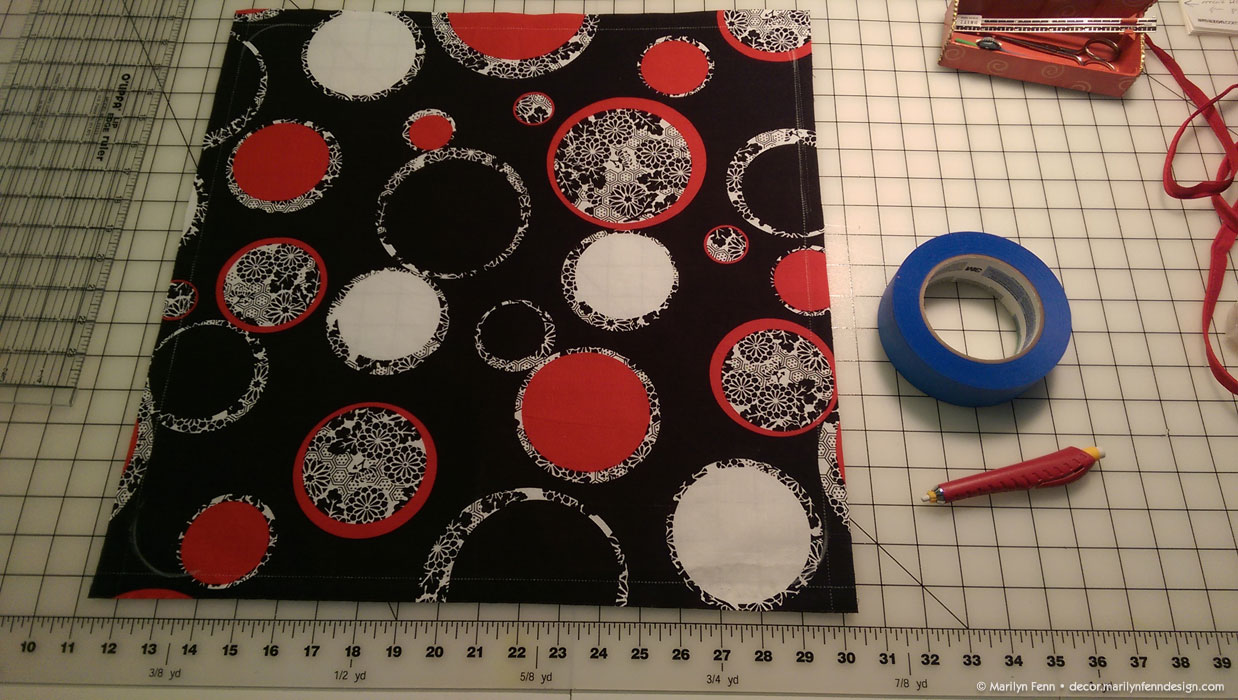
Mark the corner curves
Step Two: Use a circle template to mark the corner curves. I happened to use a roll of painters’ tape and a chalk pencil for mine.
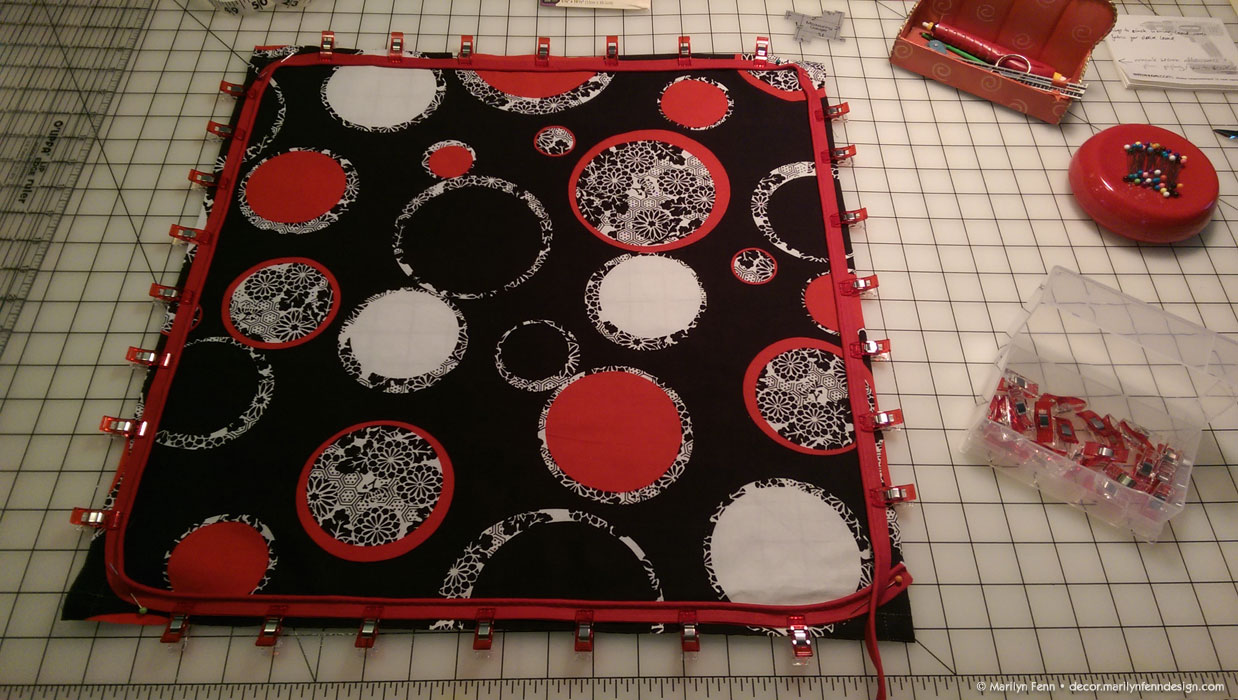
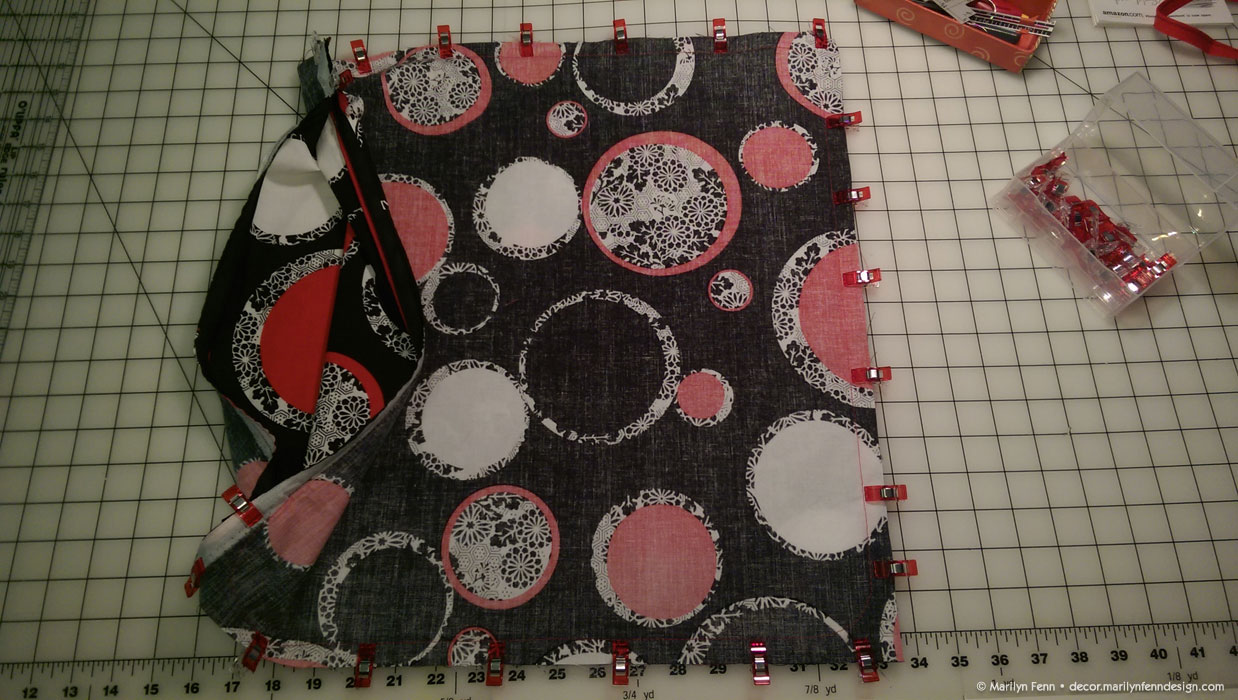
Clip piping in place
Step Three: Then pin or clip the piping in place with the seam line of the piping along the marked seam lines all around the outer edge of one piece.

Set stitch length
Step Four: Set the stitch length for a basting stitch (i.e., the maximum length)
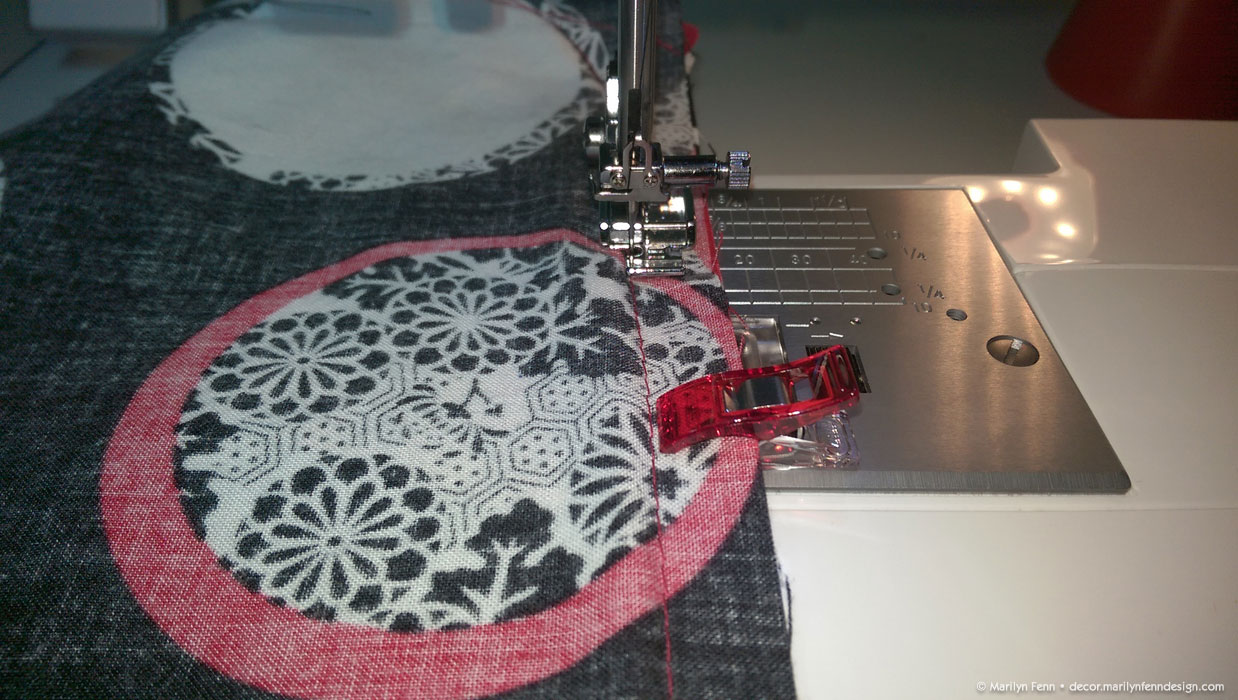
Baste the piping
Step Five: Using a regular zipper foot with the needle set to the left edge, baste the piping in pace. Sew directly on top of the line of factory stitches (if you are using prepared piping) or your previous stitches, if you’ve made your own piping.
Continue sewing the piping
Continue sewing all around the edge of the piping. I find using the Wonder Clips rather than pinning is much easier on my hands, my machine and my tools. No more pin pricks, bent pins, or dulled needles.
Overlap the end of the piping
Finish basting the piping in place by overlapping the end of the piping over the beginning edge, making sure to create a good curve, but also to run the ends off or towards the edges of the fabric.
Piping attachment completed

Cut off excess piping
Step Six: Now that the piping has been basted all around the pillow seam allowances, cut off any excess.
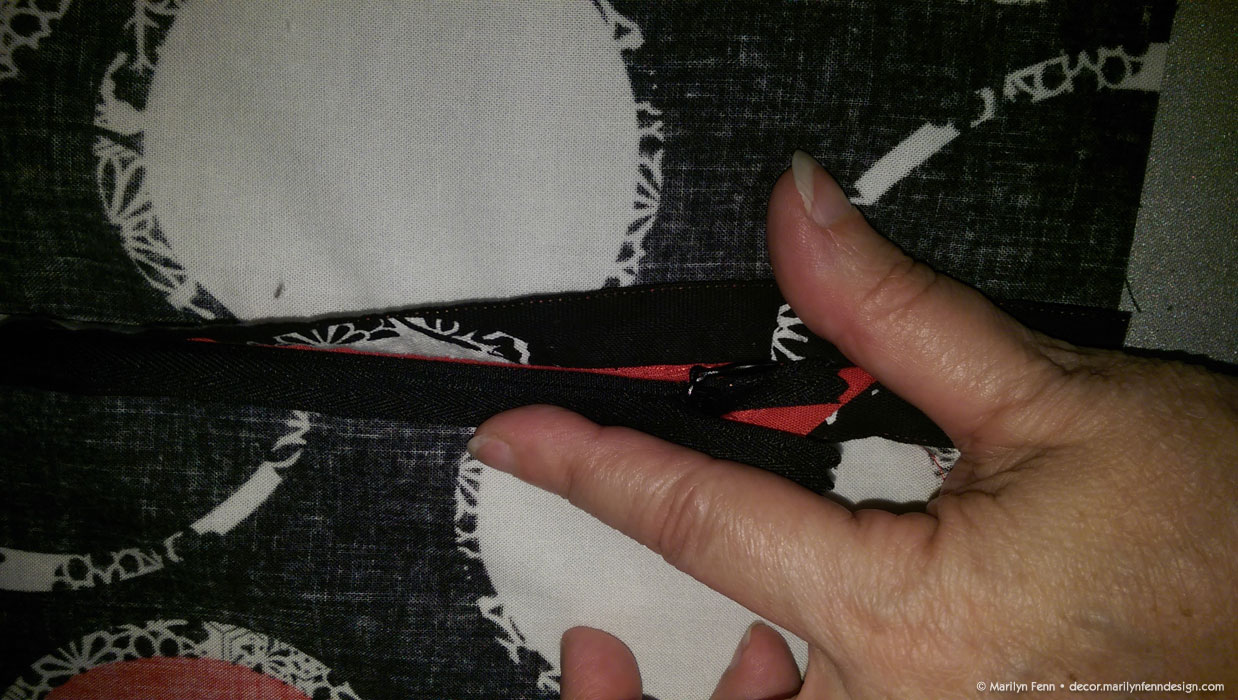
Clip one side of open invisible zipper on top of piping, centering it on the fabric
Step Seven: Now you’re ready to begin adding the zipper. First press it flat on low heat, according to the instructions that came with the zipper. Clip or pin one side of the opened invisible zipper on top of the piping–on the inside (seam allowance) edge, making sure the zipper teeth are as close as possible to the piping, and that the zipper is centered along that edge of the fabric.

Set stitch length to normal
Step Eight: Don’t forget to set your stitch length to normal. My Janome defaults to a 2.2 stitch length, but I find those stitches to be pretty short and prefer it set to about 3.0.

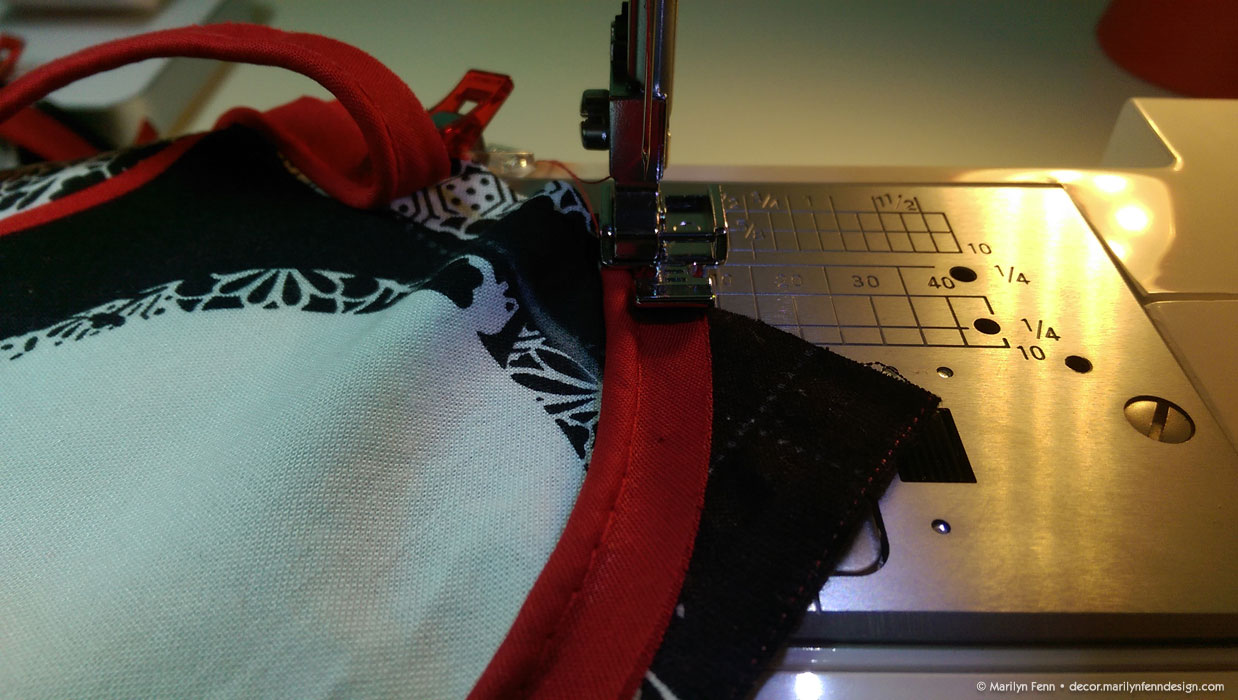
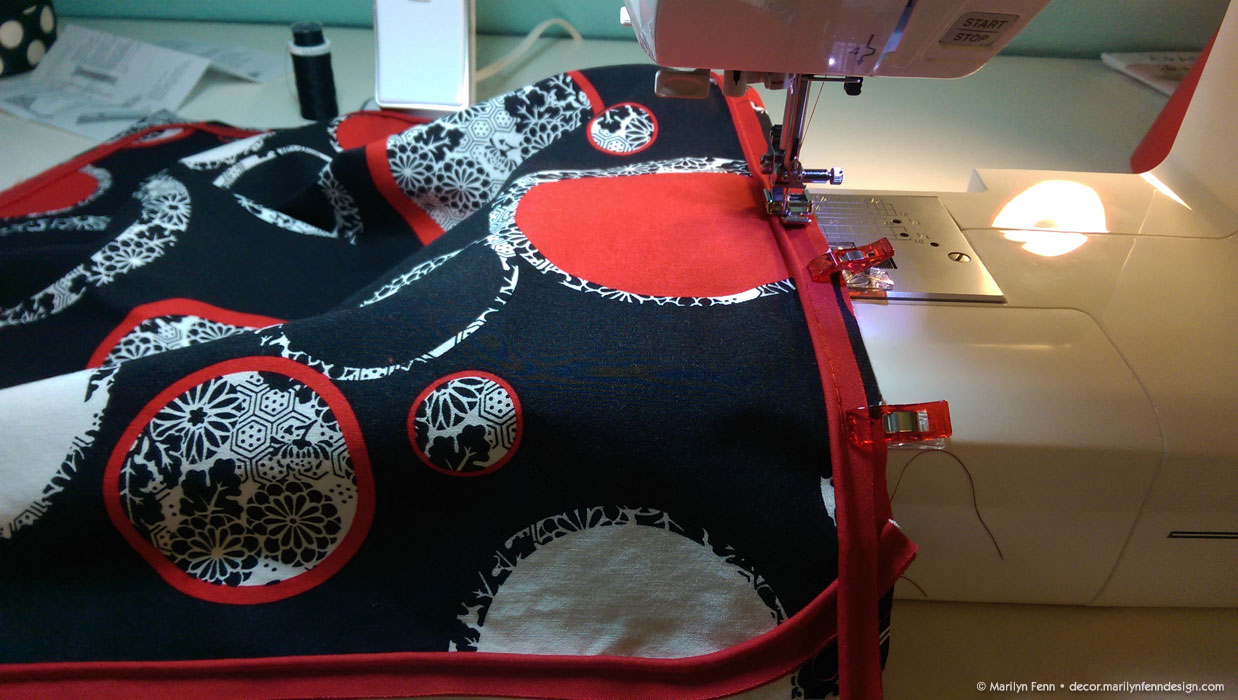
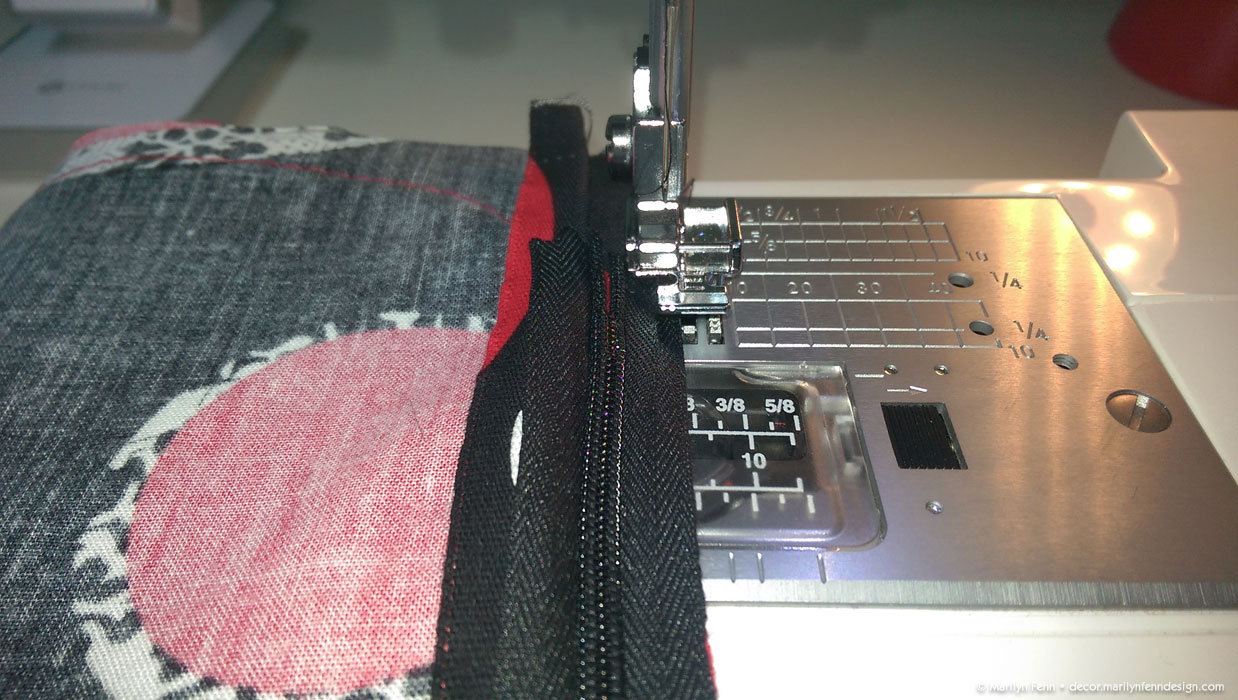
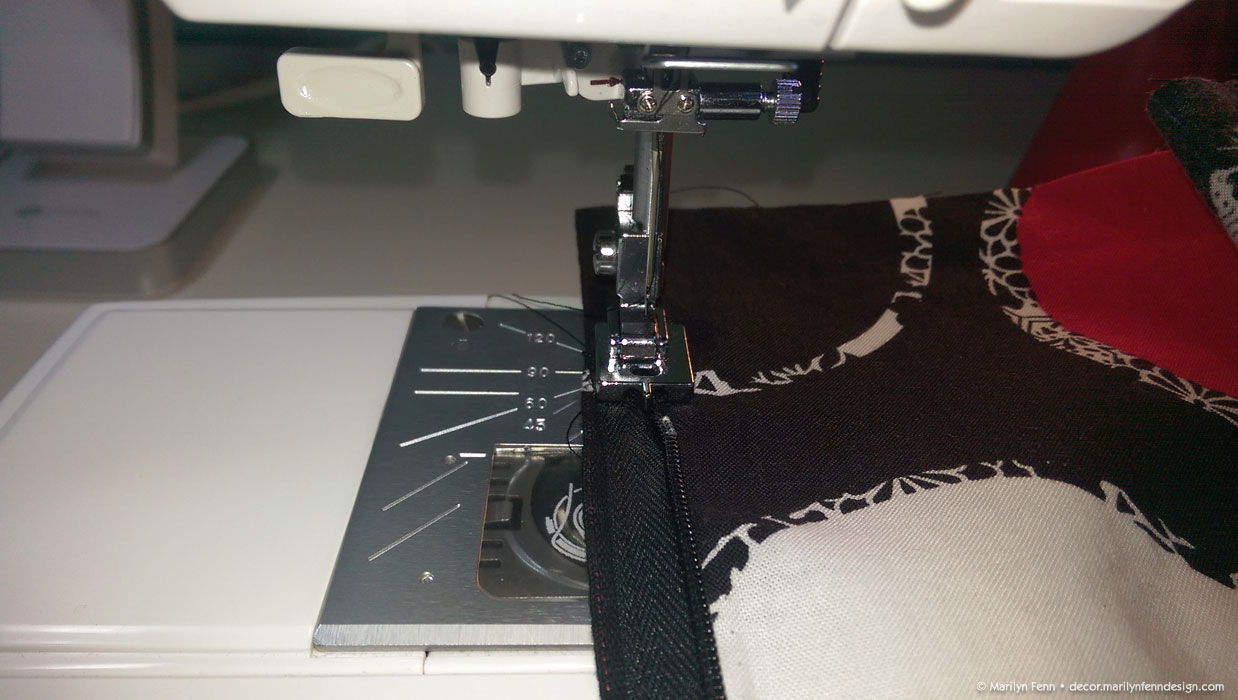
Stitch the right side zipper teeth in place
Step Nine: Switch the presser foot to a concealed zipper foot, place the zipper teeth under the left channel of the zipper foot, and with the right side zipper teeth as close to the piping as possible, stitch along the right edge of the zipper teeth while avoiding overlapping the piping.
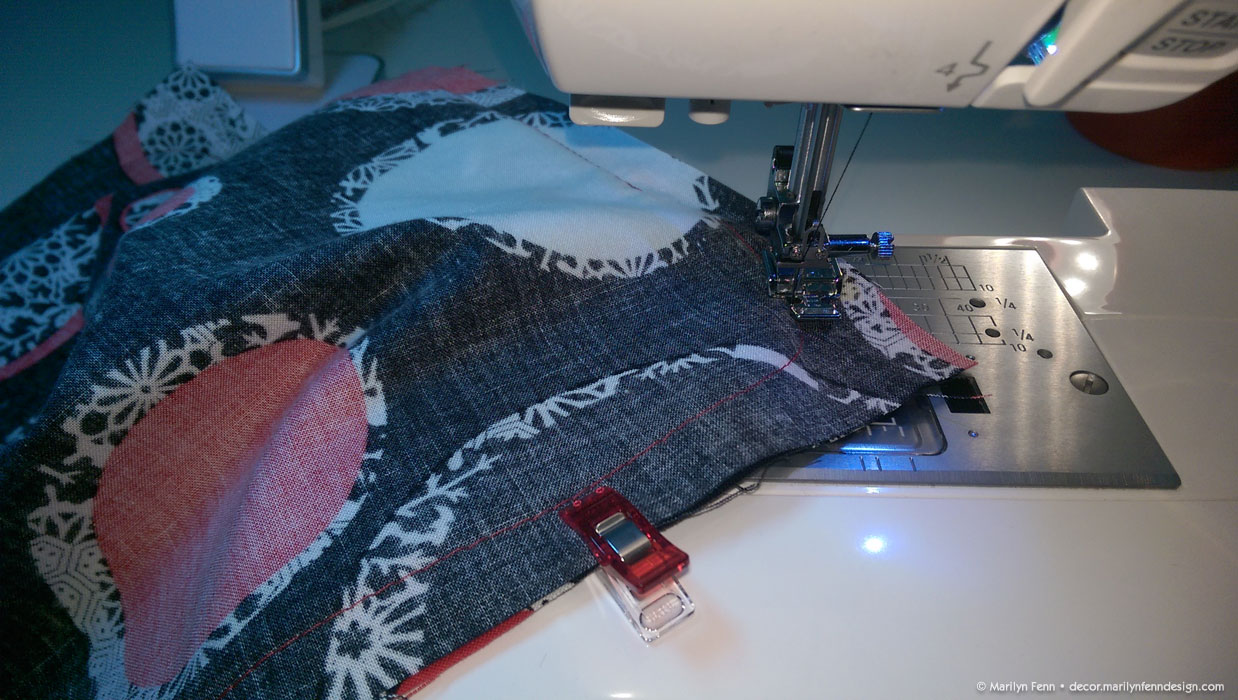
Step Ten: (Not pictured): Place the right sides together of the two pieces of pillow fabric and baste over the piping at the seam line, avoiding catching any part of the zipper in this basting stitch.
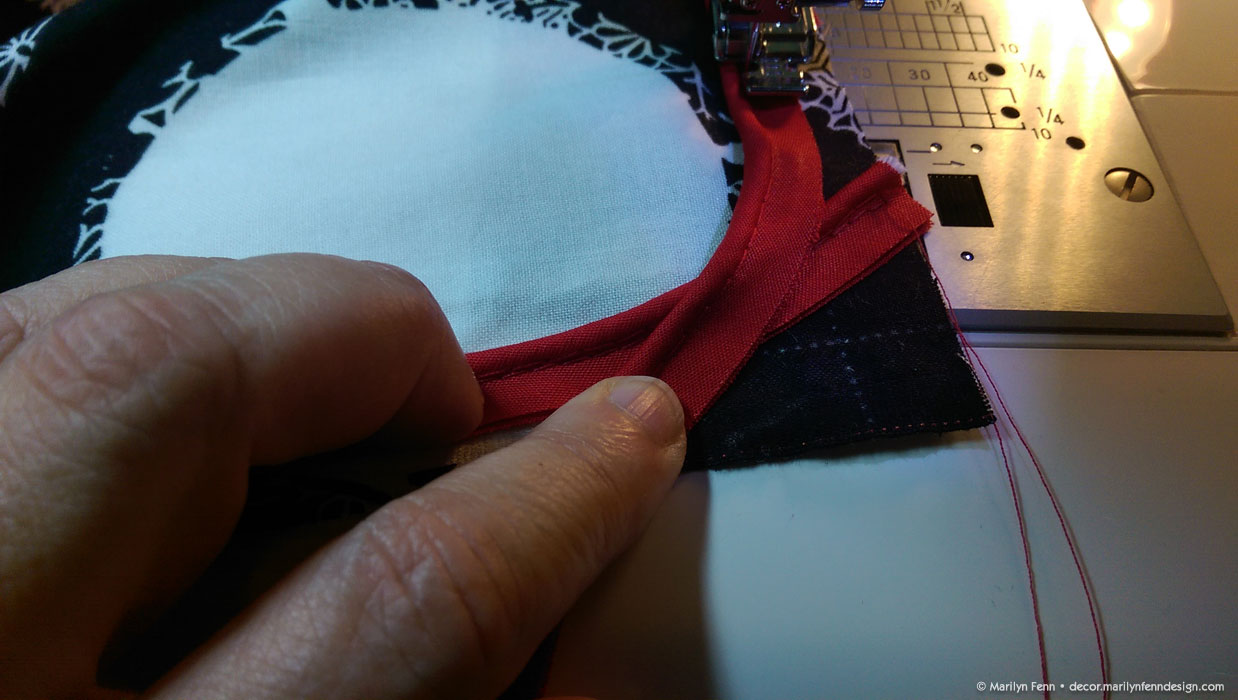
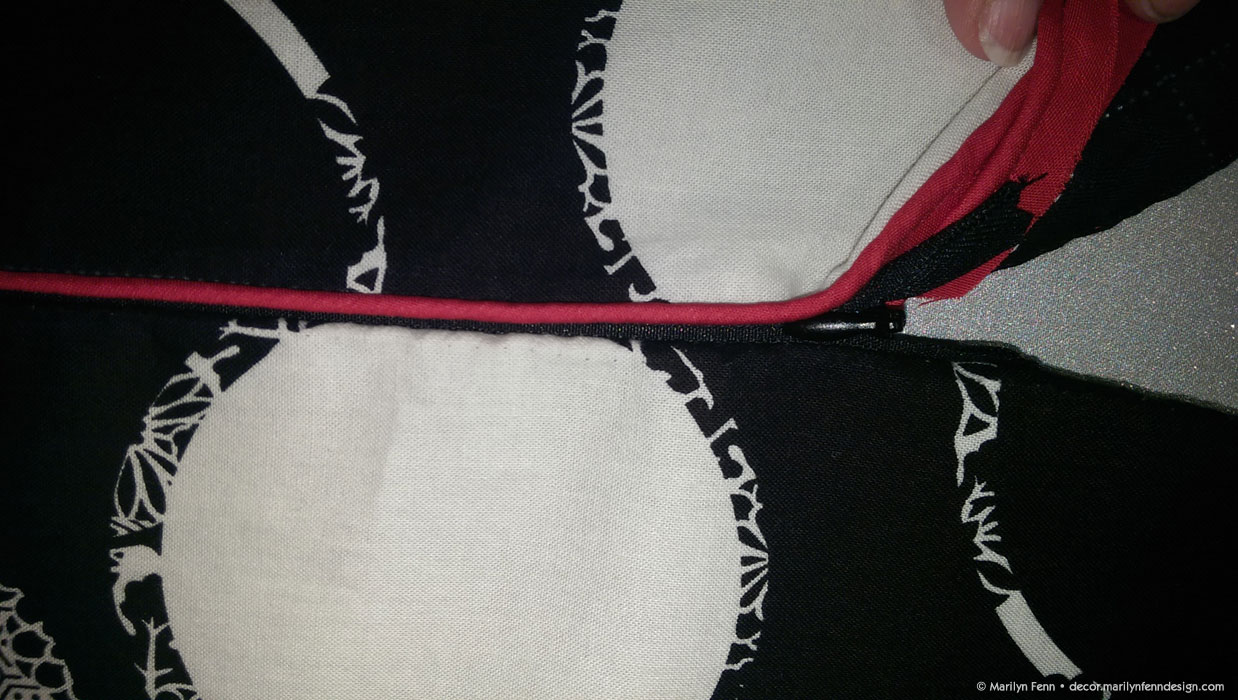
Check your work
Step Eleven: Press the seam open, and check to be sure the piping was not caught in the stitching for the zipper. If it was, you will, of course, need to rip out the seam and start again.
Stitch outer edge of zipper’s right side in place
Step Twelve: Using the regular zipper foot with the needle set to the left edge, stitch the outer edge of the right side of the zipper tape in place along the seam allowance.
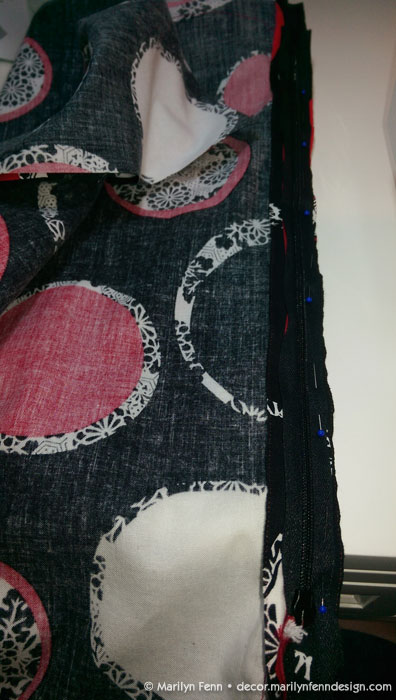
Pin left side of zipper into place
Step Thirteen: Pin the left side of the zipper in place on the other seam allowance and stitch the outer edge of the zipper tape in place, just as in the previous step.
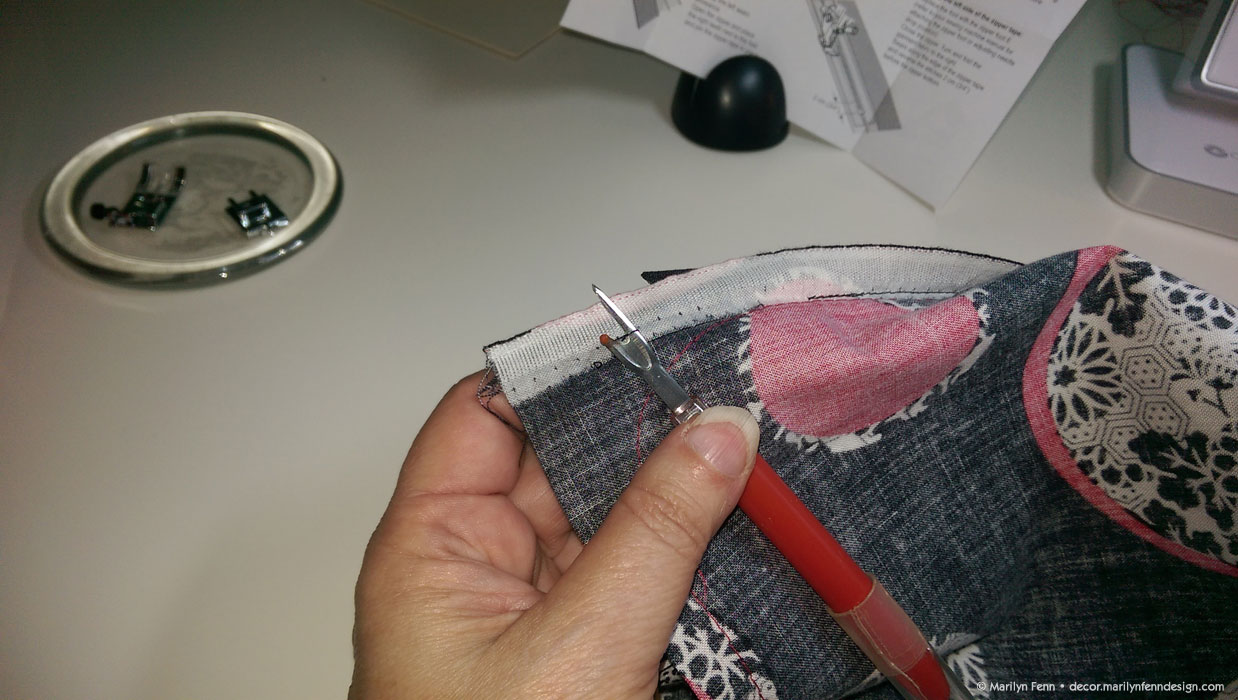
Remove basting stitches
Step Fourteen: Remove the basting stitches holding both sides of the fabric together. The two pillow pieces will now be held together along the zipper seam only by the stitching you added on both sides of the zipper tape.
Stitch over left side zipper teeth
Step Fifteen: Stitch over the left side zipper teeth using the concealed zipper foot, placing the zipper teeth under the right channel of the zipper foot. Be sure to backtack (reverse stitch) at both ends of the stitching.
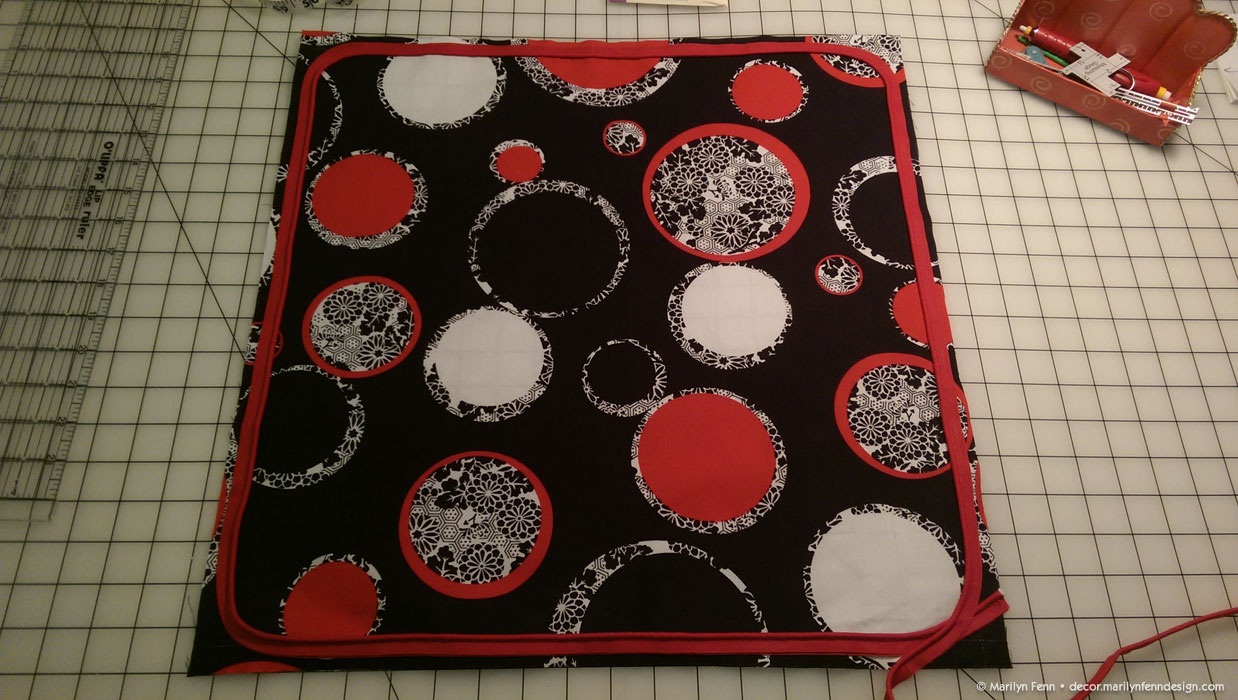
Close zipper and inspect your work
Step Sixteen: Now it’s time to close the zipper and inspect your work. If all is well, move on to the next step.
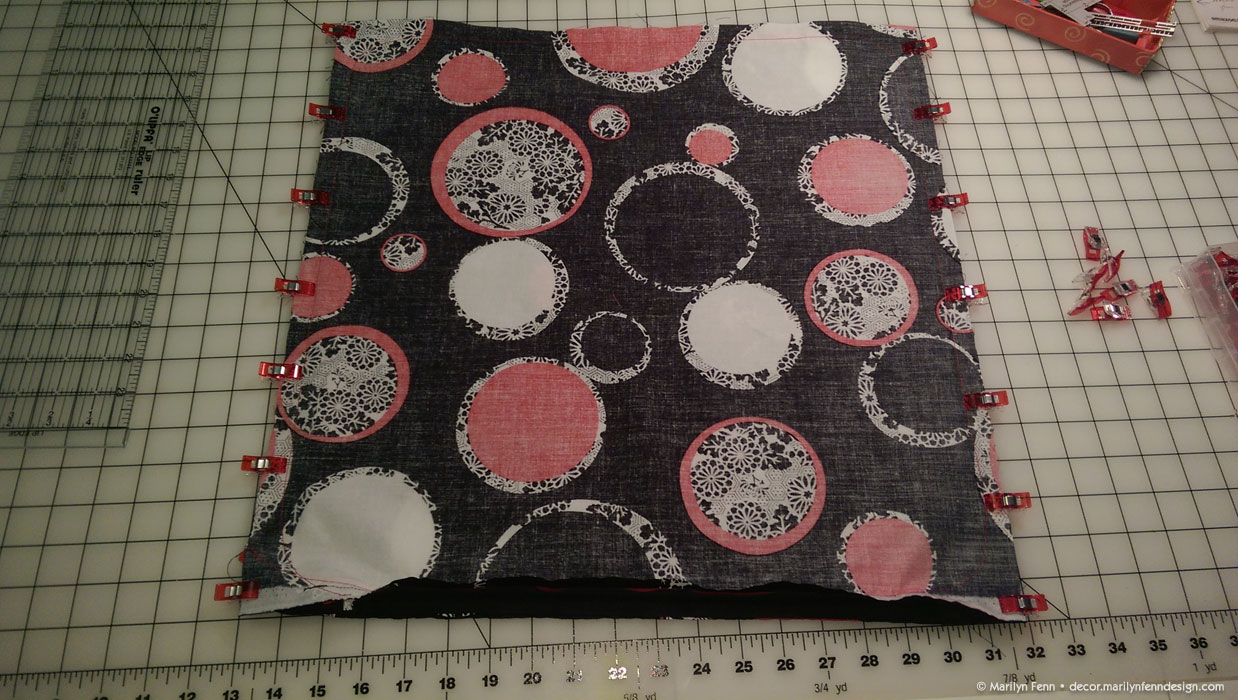
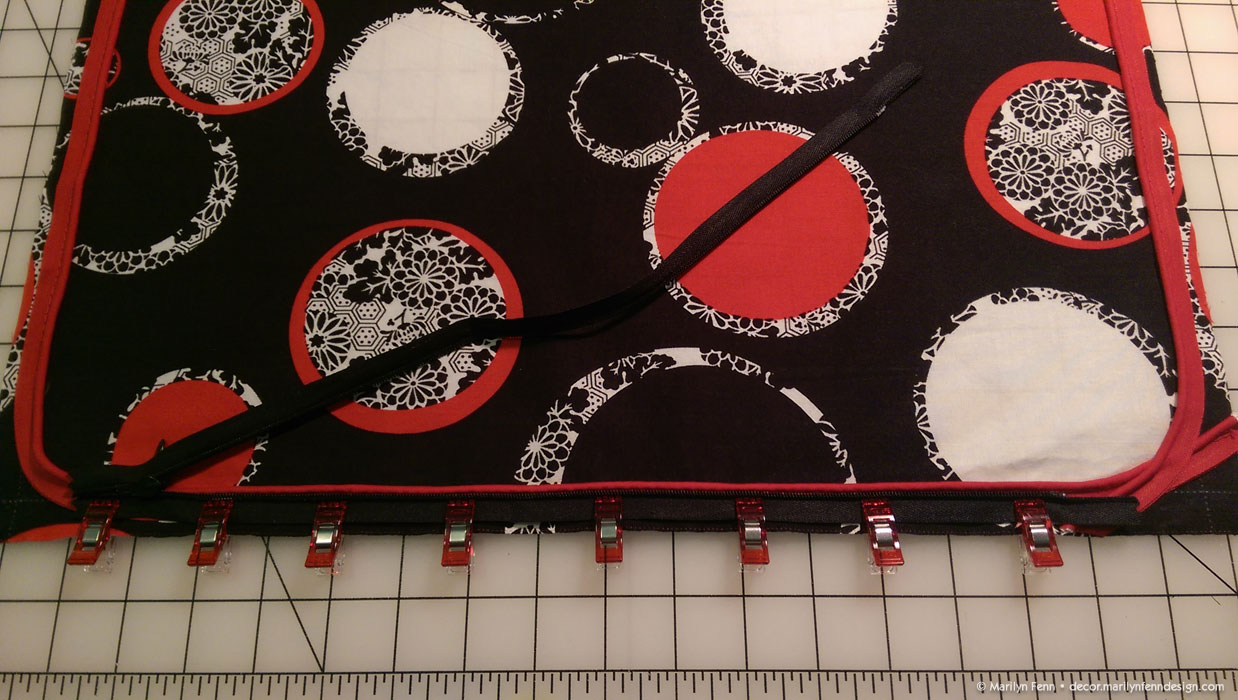
Clip two sides together, with right sides of fabric inwards
Step Seventeen: Clip or pin the two sides of the pillow fabric together along two edges, with right sides together.
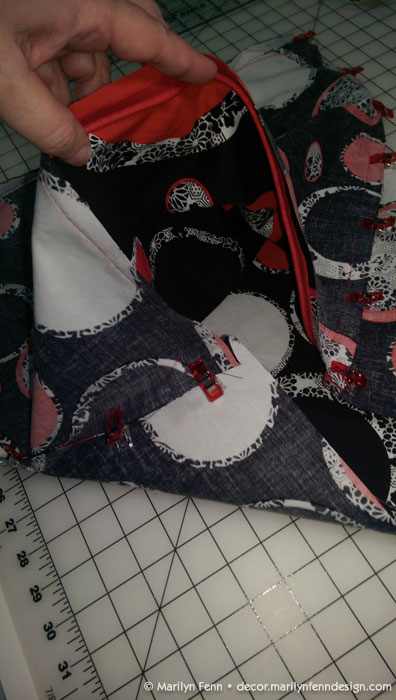
Reach inside and unzip zipper
Step Seventeen: Before finishing clipping or pinning the two sides together, be sure to reach inside and unzip the zipper before clipping (or pinning) the final edge. It is possible to unzip the zipper after you’ve stitched closed all the other sides, but it is rather difficult and tedious to do. Don’t ask me how I know. 😉
Ready to sew the final seams
Using regular zipper foot, stitch on top of piping basting stitches
Step Eighteen: Using the regular zipper foot with the needle set to the left edge, stitch the two sides together with permanent stitches right on top of the piping’s basting stitches, starting at one end of the zipper and finishing at the other, being sure to leave no gap between the ends of the zipper and the seam, following all corner curves.
Sewing the corner curves
Trim corners
Step Nineteen: Trim the corners at an angle to reduce puckering.

Turn pillow right side out, and press
Step Twenty: Turn the pillow right side out, and press the seams flat.
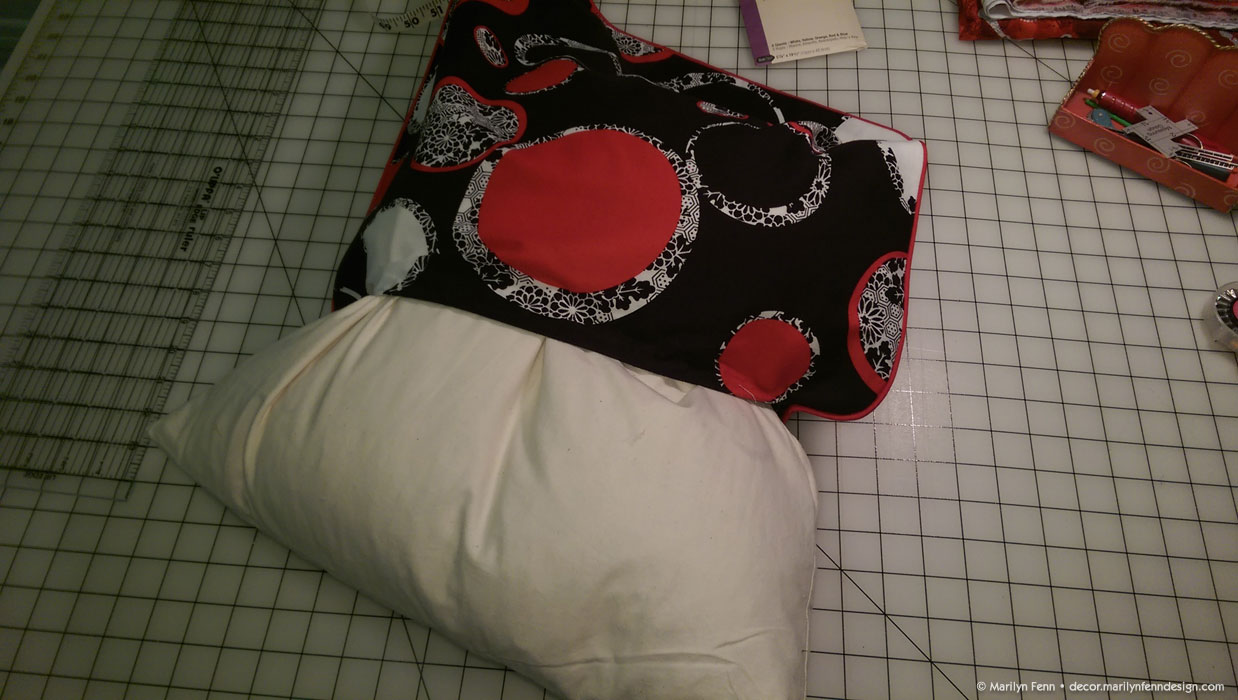
Stuff with a pillow form
Step Twenty-One: Finally, stuff the new pillow cover with a pillow form, zip it up and you’re done!

Completed Pillow with Piping and Invisible Zipper

Leave a Reply