My fourth cushion project involves wrapping foam with batting, which I have never done before. I wasn’t sure whether the far edges should be wrapped; I’ve seen it done both ways, but I couldn’t figure out exactly what to do to those edges to keep them in place, so I followed the more professional advice I found online, and trimmed the batting edges off. I’ve outlined most of the steps below (in the captions).

Wrapped foam cushion with batting
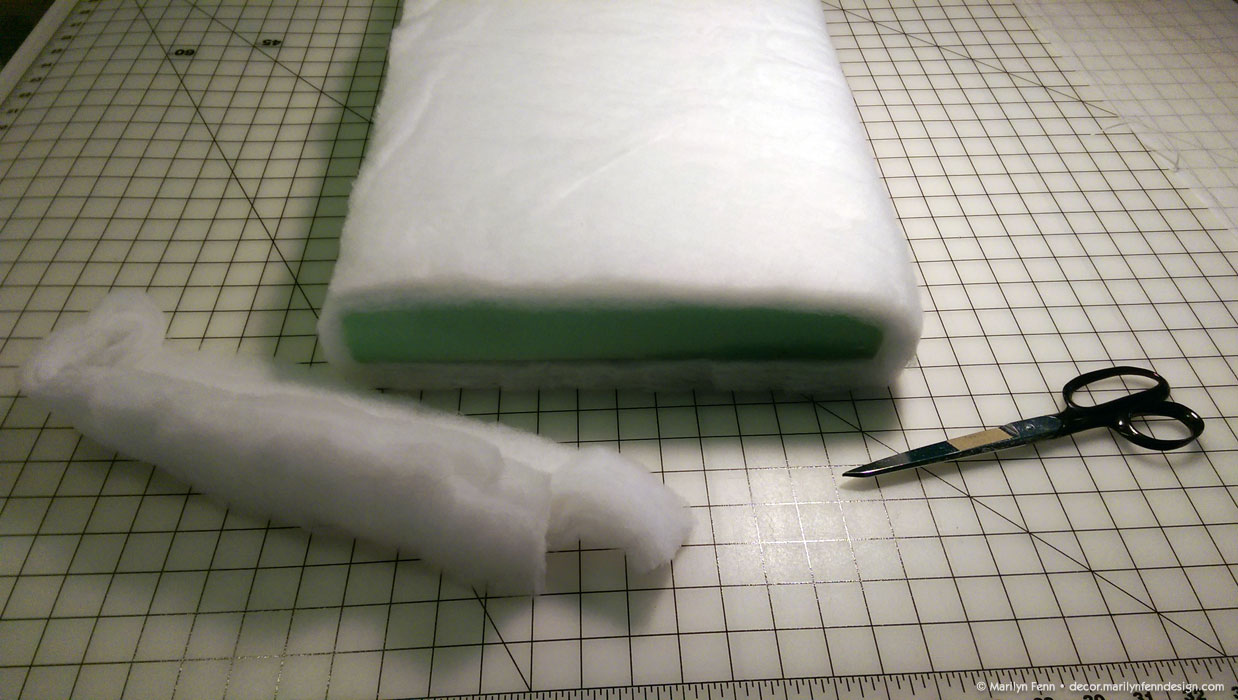
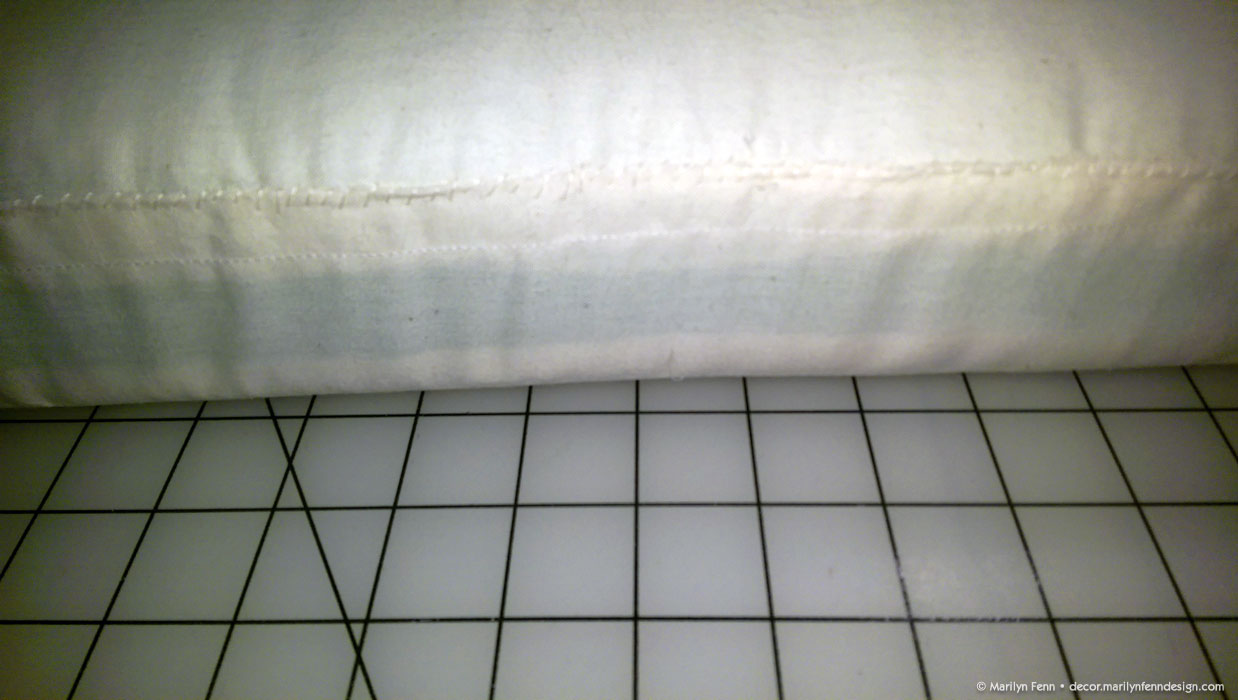
Cutting off ends of batting
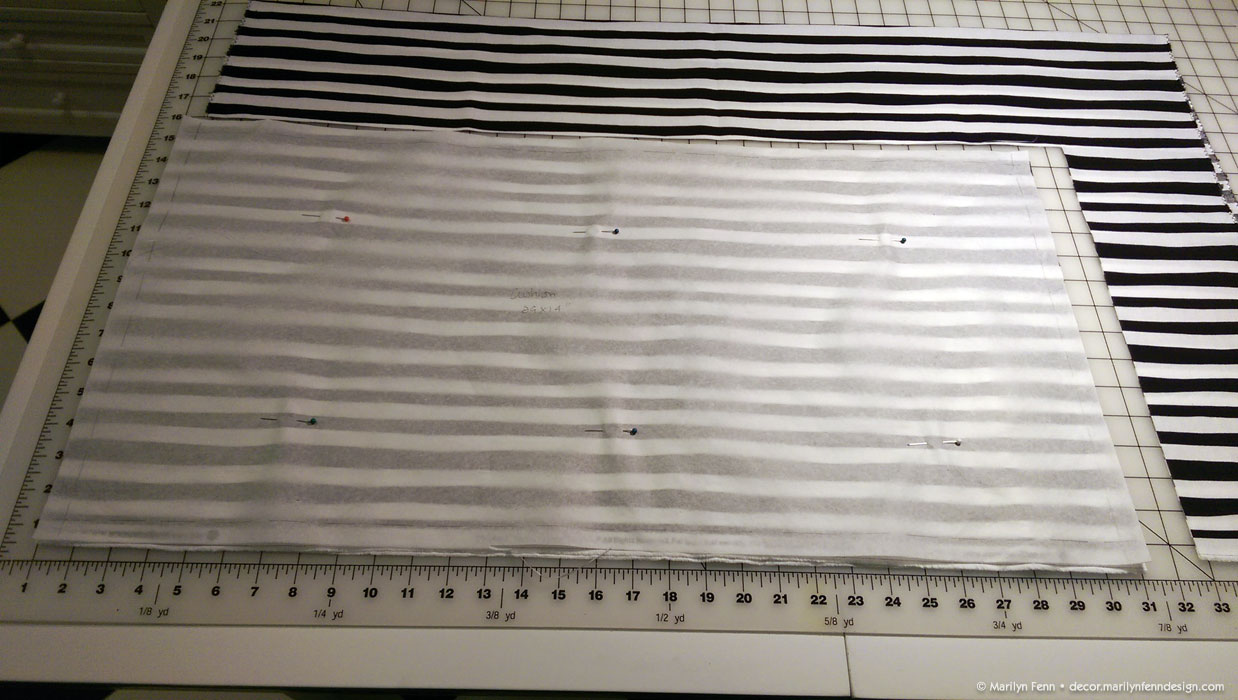
I created a muslin cover, mostly to test whether I made my pattern correctly to fit the cushion-plus-batting. Once done, I decided to keep it on the cushion under the final cover, just to keep things tidy in there. Here I am testing the fit of the cushion-plus-batting into the muslin cover.
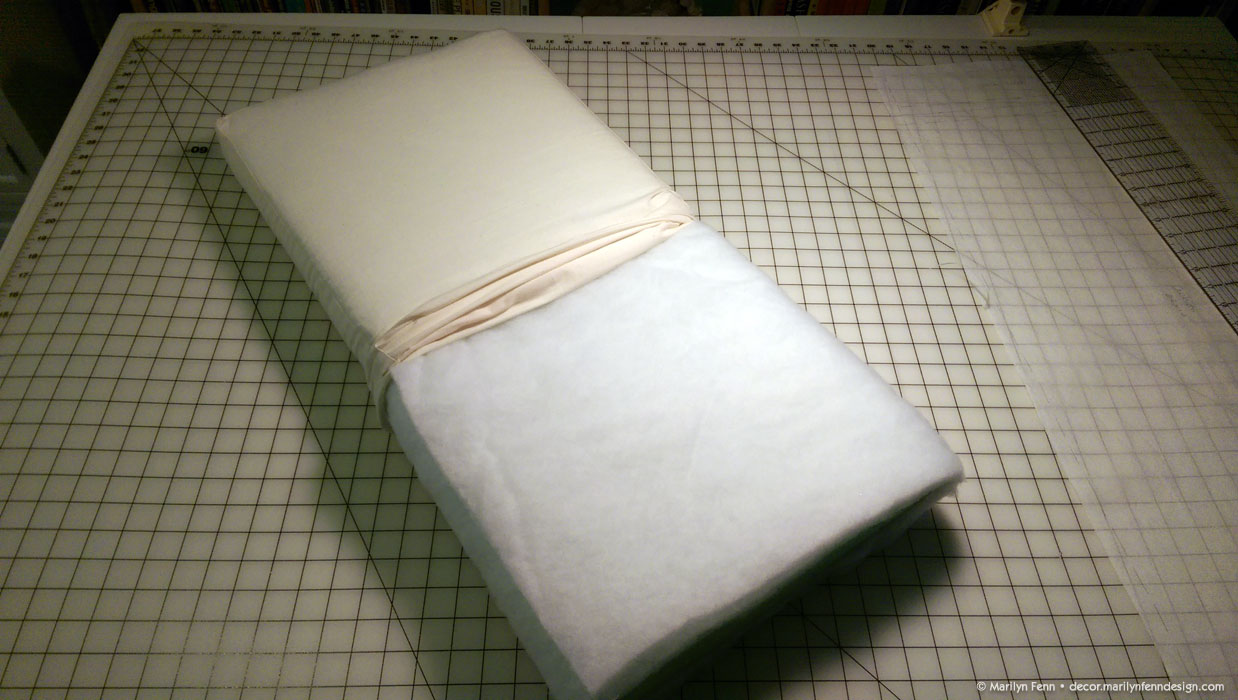
Cushion halfway inserted into muslin cover
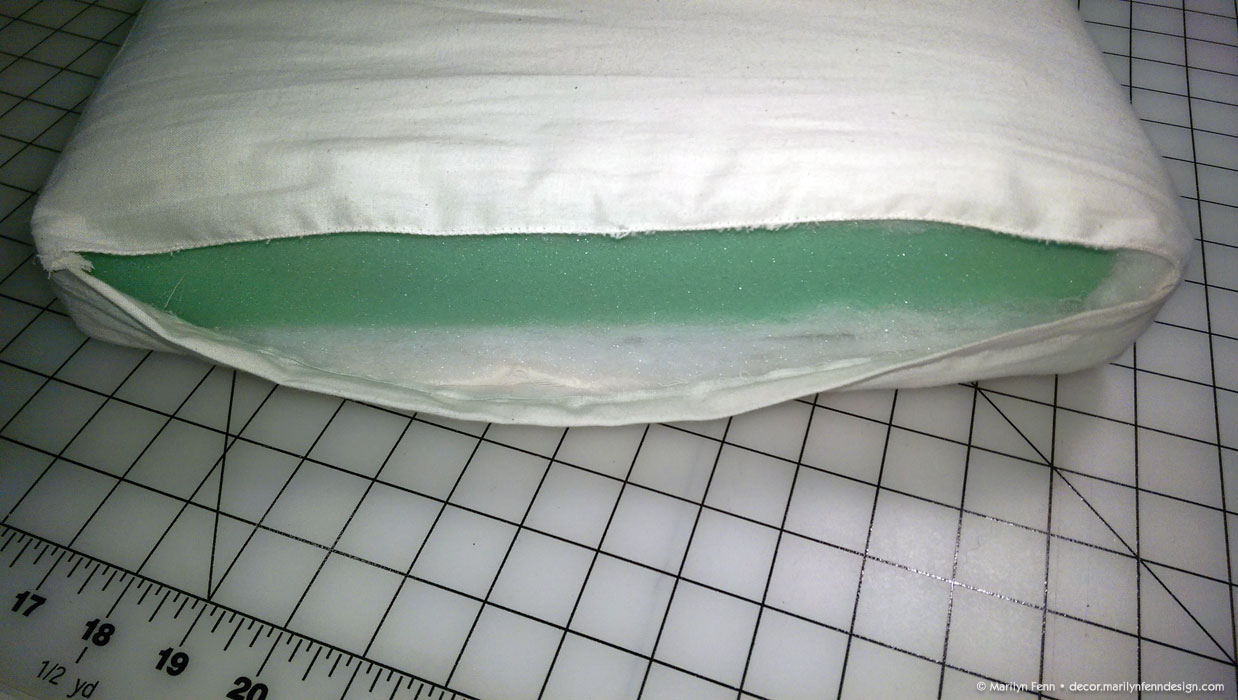
Opening of muslin cover to be sewn closed
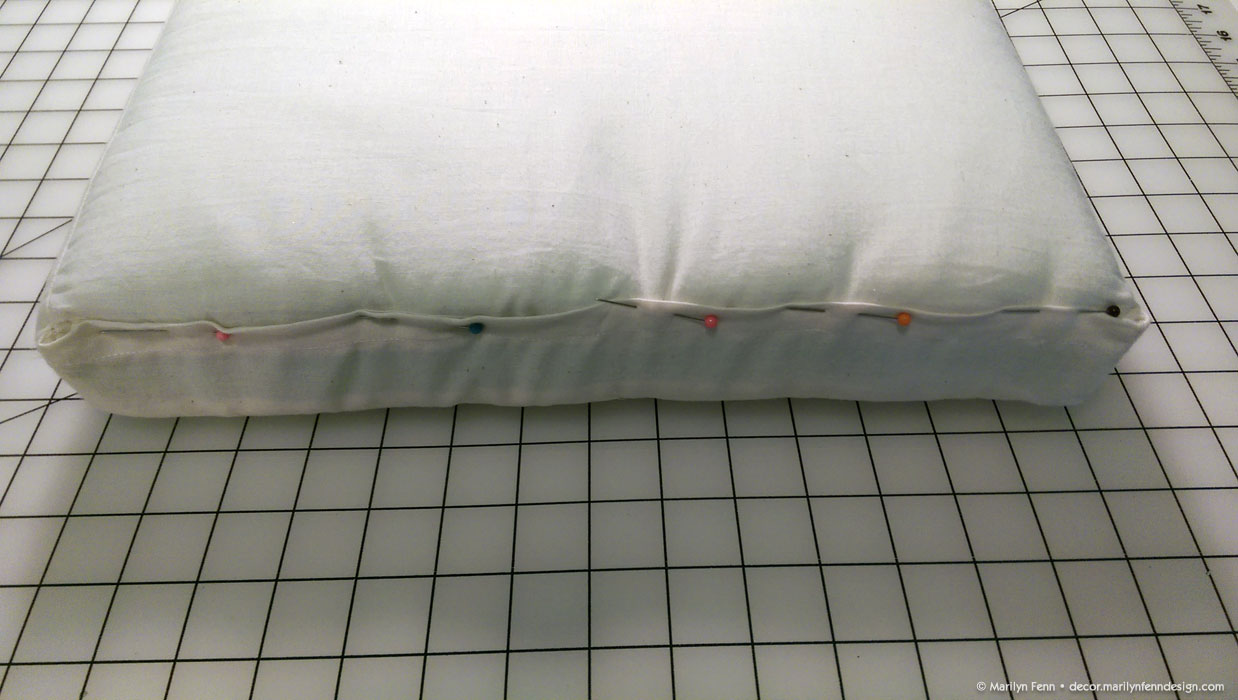
Pinning the muslin cover closure for hand sewing
After pinning in place, I hand stitched the final edge of the muslin cover.
Hand sewn muslin cover closure

Muslin cover completed
Testing the muslin covered cushion in place
Moving on to the final Dr. Suess fabric, I used the exact pattern dimensions as in the muslin cover (no adjustments were deemed necessary), and first cut the four box edge pieces from this circle fabric and clipped them together for sewing.
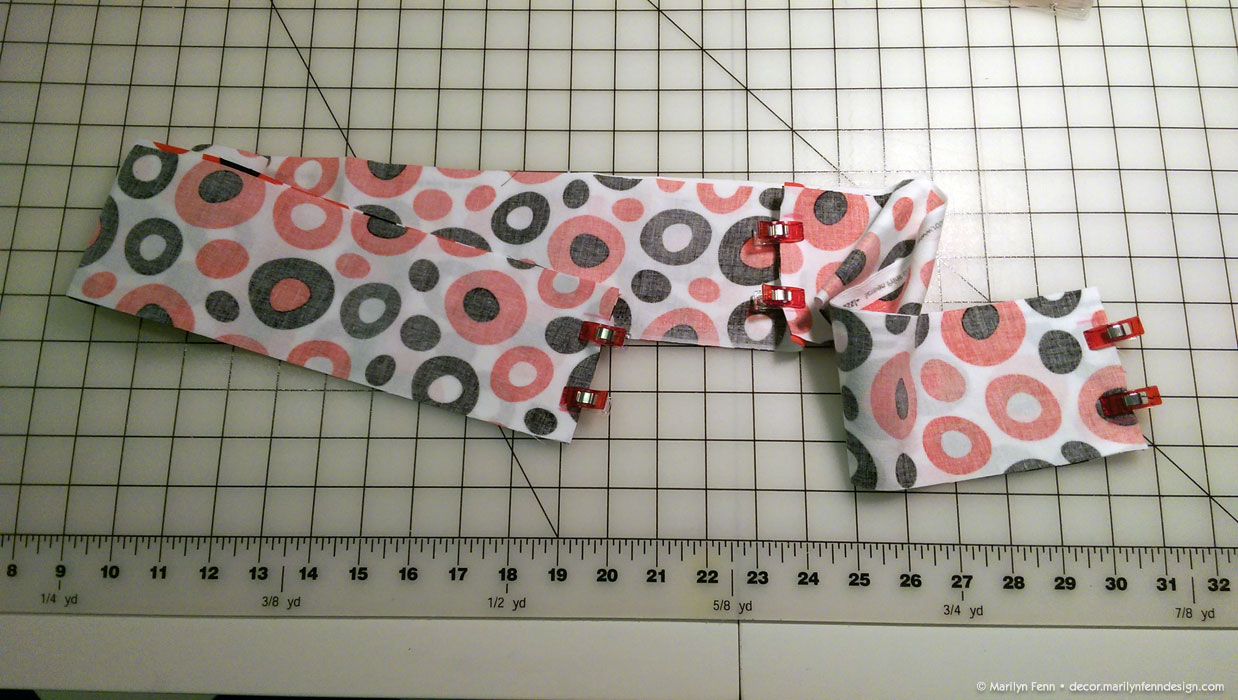
Clipped all four seams for box cushion sides; ready to sew
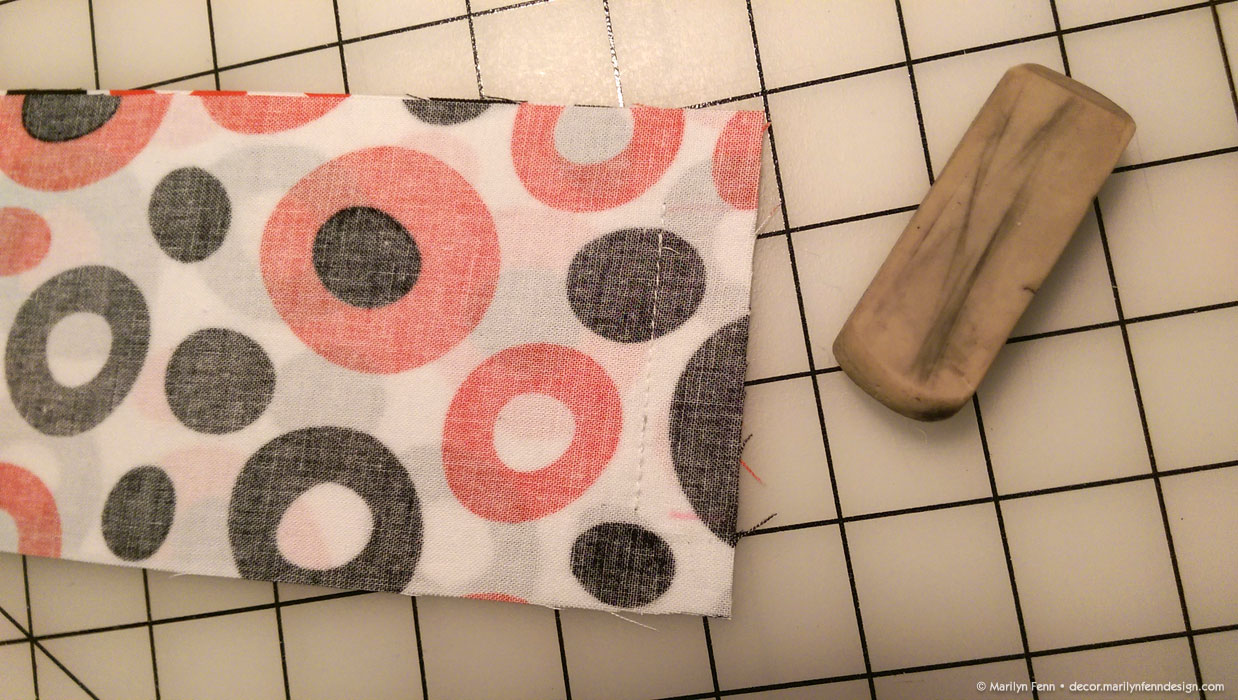
It’s important to leave the seam allowance unstitched on all the short edges of the box cushion sides, as they need to be open on that seam allowance when you are stitching the box edge to the top and bottom pieces. Here I marked mine with erasable chalk, then tested my stitching to make sure I hadn’t gone over the 5/8″ allowance.
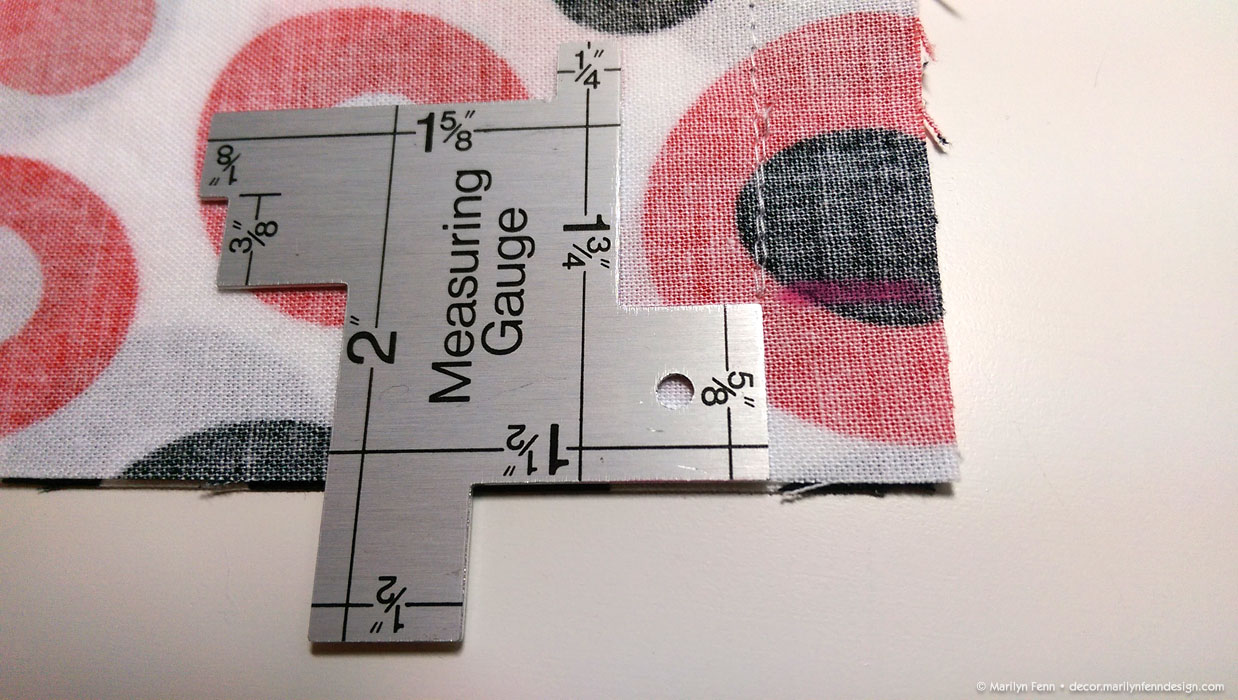
Checking seam allowance markings vs stitches
After stitching, I erased the chalk lines.
Erasing chalk lines
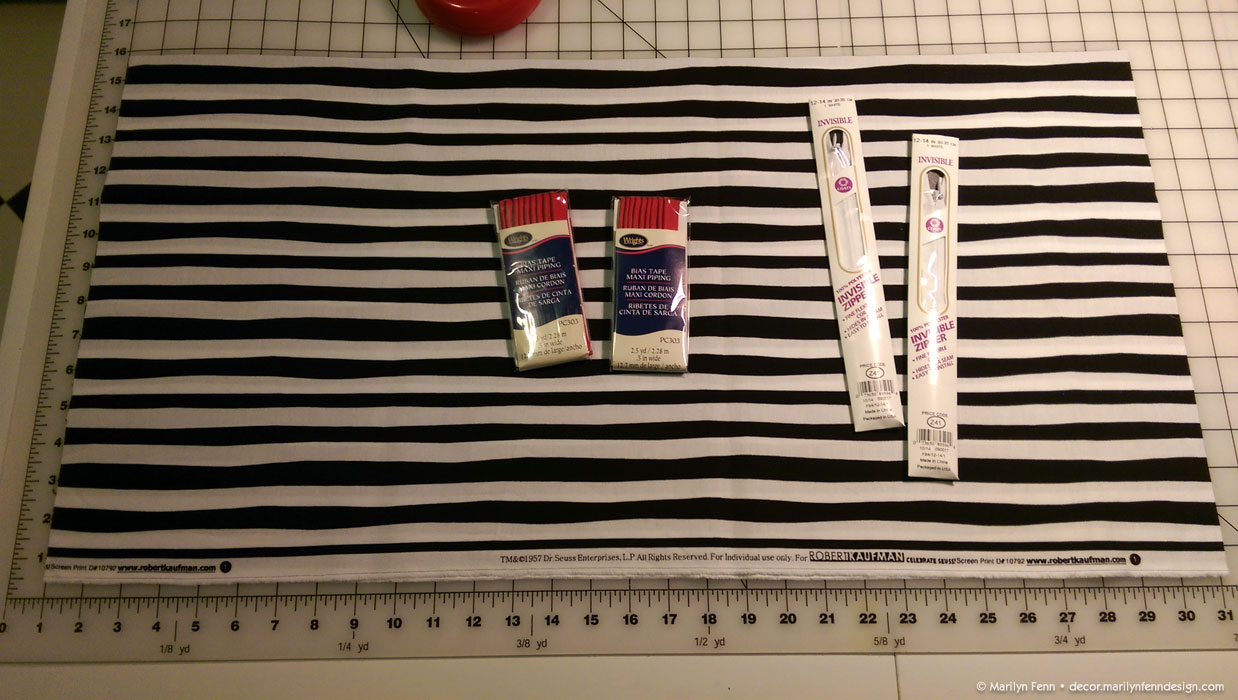
Next up: cutting the fabric for the top and bottom of the cushion. I usually try to cut one edge along the selvage, as the selvage edge won’t fray. Then I try to place my zipper(s) along that edge, since those edges will get worked with the most.
Completed cutting the cushion cover material
The cushion cover material with piping and zippers
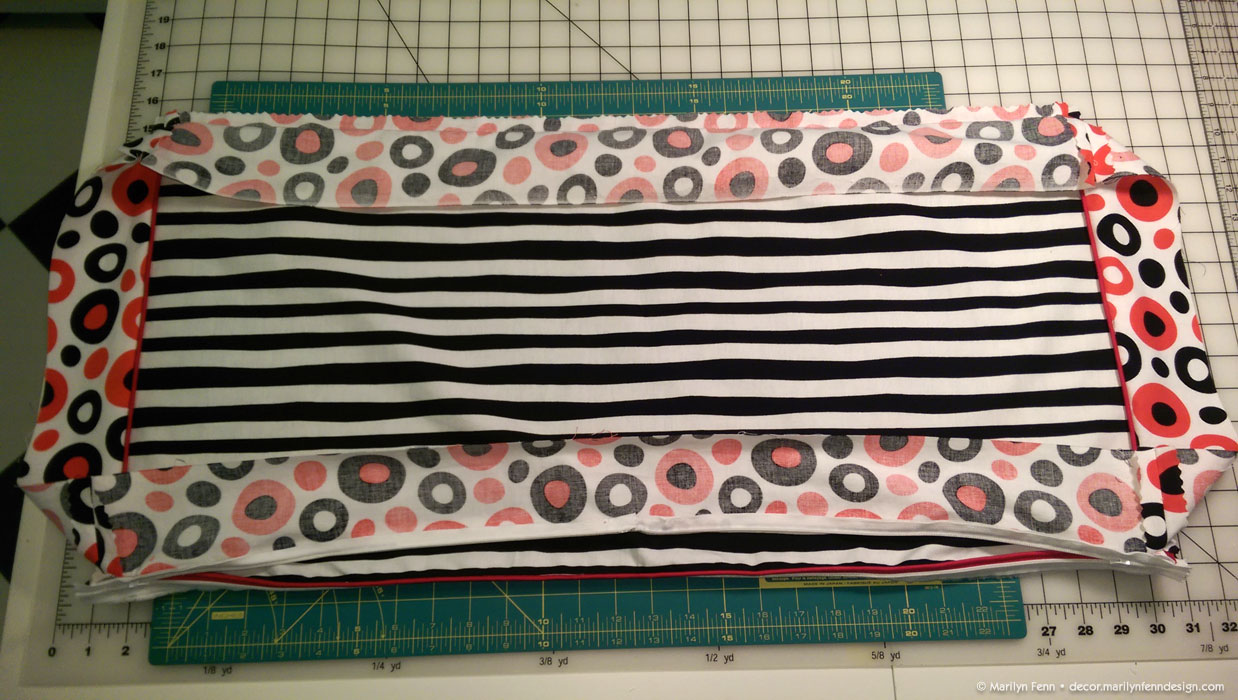
Here are the top and bottom pieces for the cushion, after having attached the piping to each piece and having sewn the first half of two invisible zippers in place, with the tops meeting at the middle.

Piping attached to both top and bottom; zippers attached to bottom cover
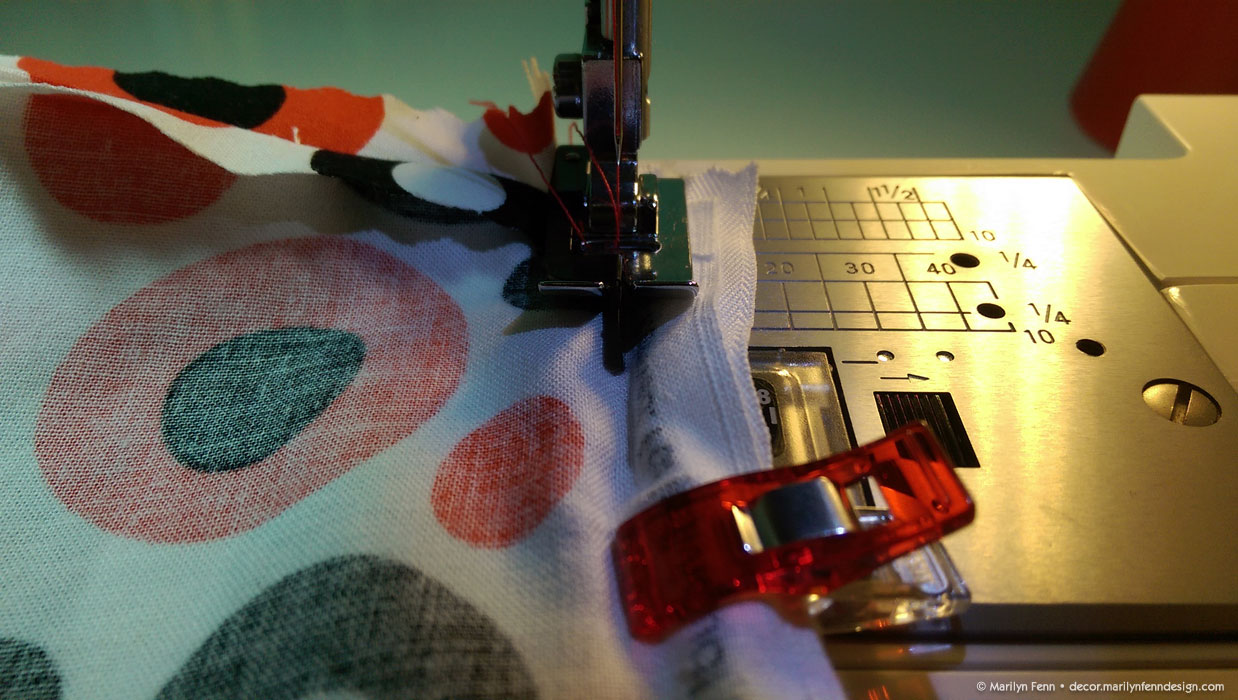
I used my ditch quilting presser foot to baste the box edge piece of fabric to the bottom side of the cushion fabric, aiming to keep the stitches between the piping and the first half of the zipper tape and teeth. This will keep the two pieces of fabric together while I finish sewing in the other half of the zippers. One half of each invisible zipper is attached to the top side seam allowance, and the other half is sewn into the box edge fabric’s seam allowance. The basting will be removed after I stitch the outer edge of the zipper tape to the seam allowance. Then I can finish sewing very close to the zipper teeth on that same seam allowance.
Using the ditch quilting presser foot to baste bottom to box side between piping and zippers
After getting the zippers installed and all the edges of the box edge fabric sewn onto the bottom piece of fabric, exposing the piping, I test fit the cover so far. Looks good, so I proceed.
Test fitting half the cover
I’m posting this next picture to remind myself (and anyone else who tends to forget) to open the zippers before sewing the final piece of fabric on! It’s a very important step which I’ve forgotten a few times, and which has caused me the grief of trying to open the zipper from the inside of the now completely closed cushion (or pillow). It is doable, but fairly challenging (and should be completely unnecessary)! I should make a checklist, like a pilot before take-off. Zippers open? Check!
Remember to open the zippers before sewing the final piece on
Clipping the last piece in place before sewing around all the edges. When sewing, make sure to sew as close as possible to the piping.
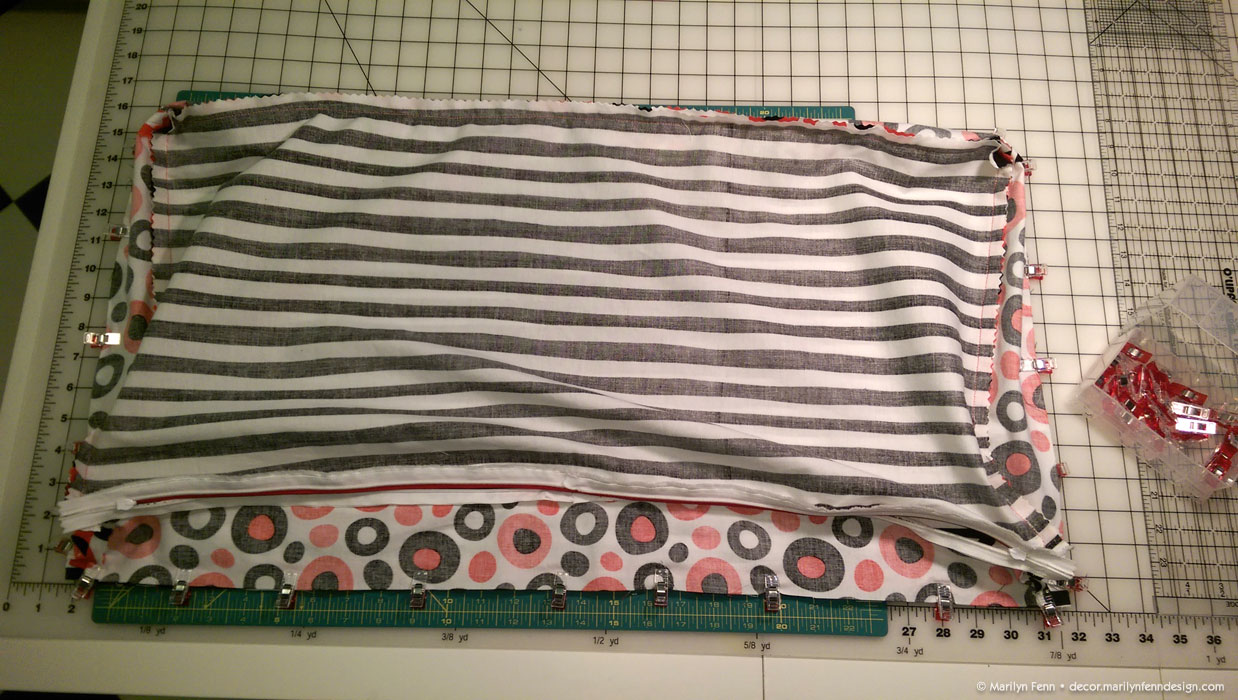
Clipping the last piece on
After stitching the final piece, I decided to pink all the non-selvage edges. It’s just neater that way. I removed as little as possible — about 1/8th of an inch.
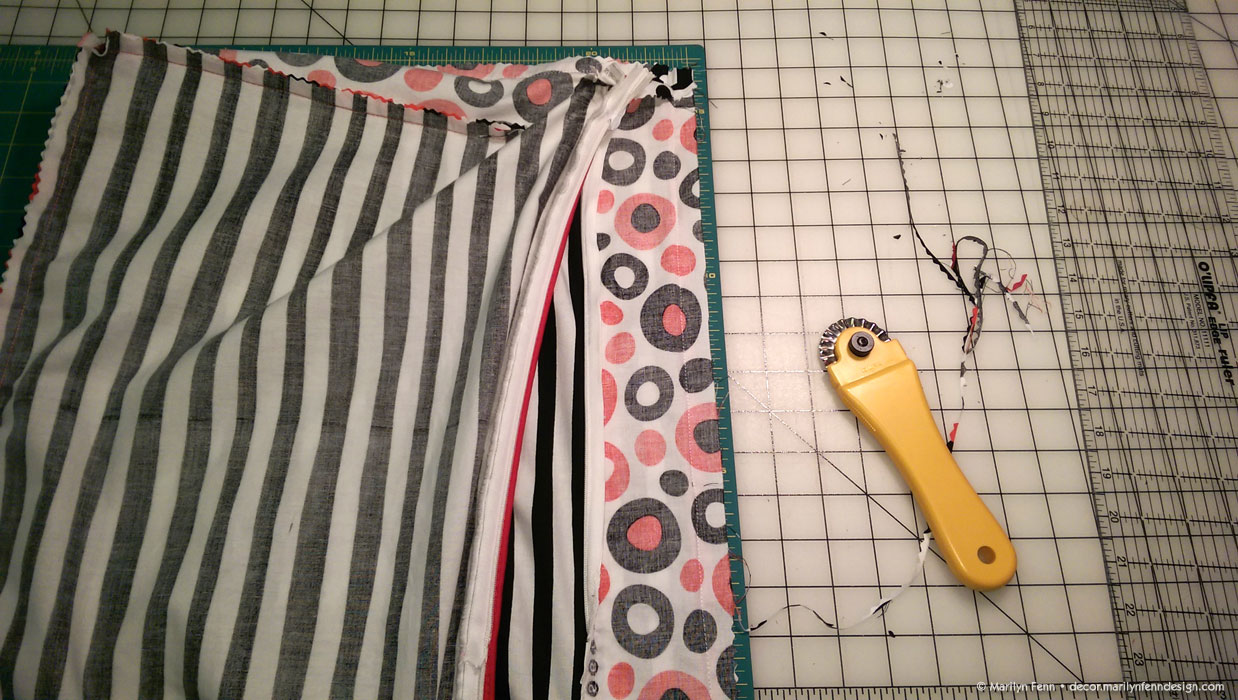
Trimming (pinking) the edges
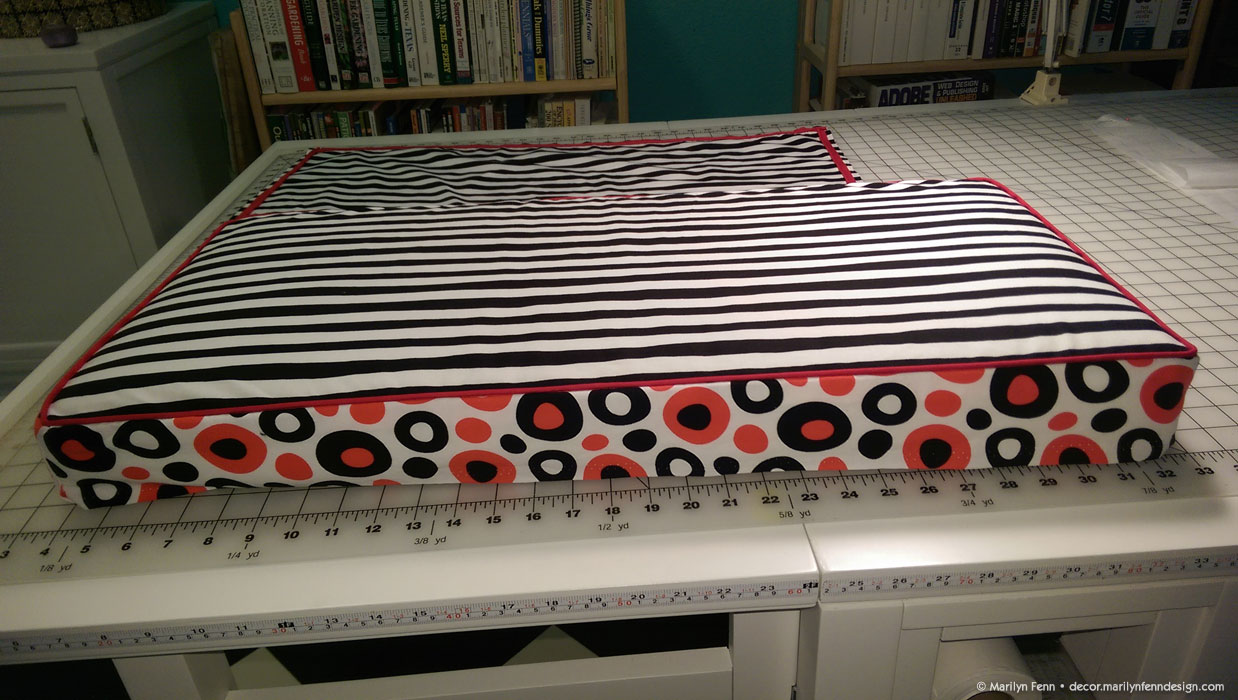
Ta-da! Here it is, the completed cushion. I love it!

Cushion completed
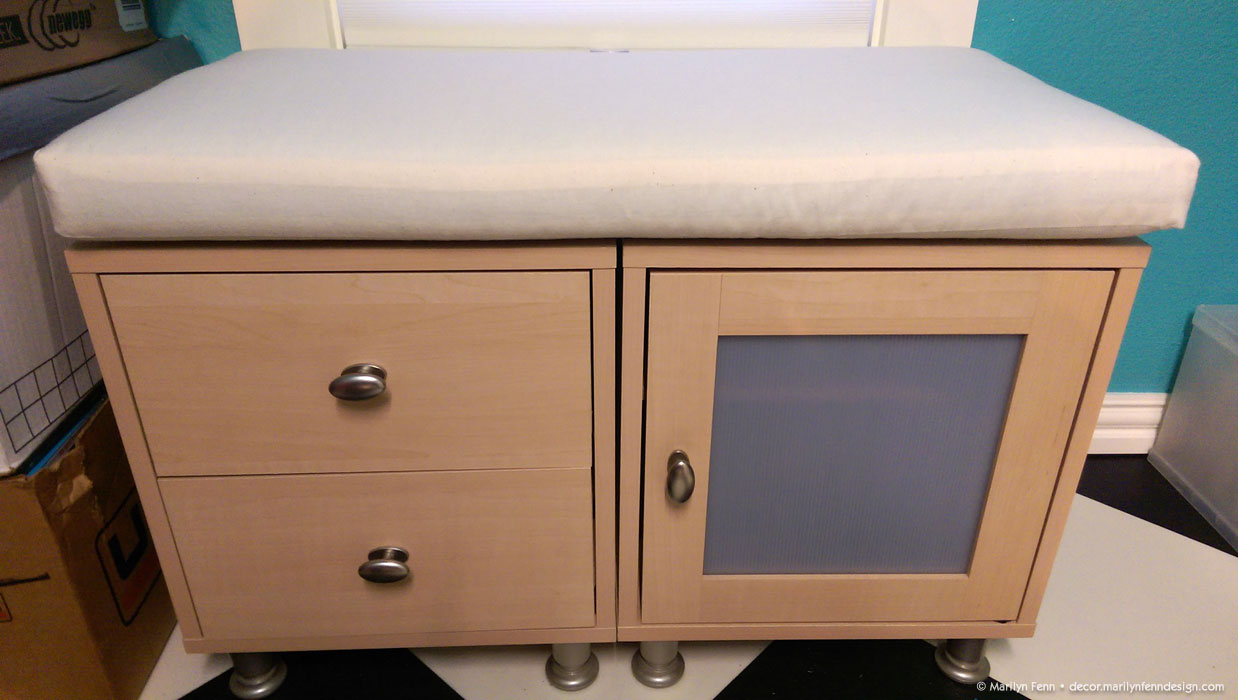
And here it is in place on top of two odd little storage cubes, which are just too useful to replace with anything cuter (so far).
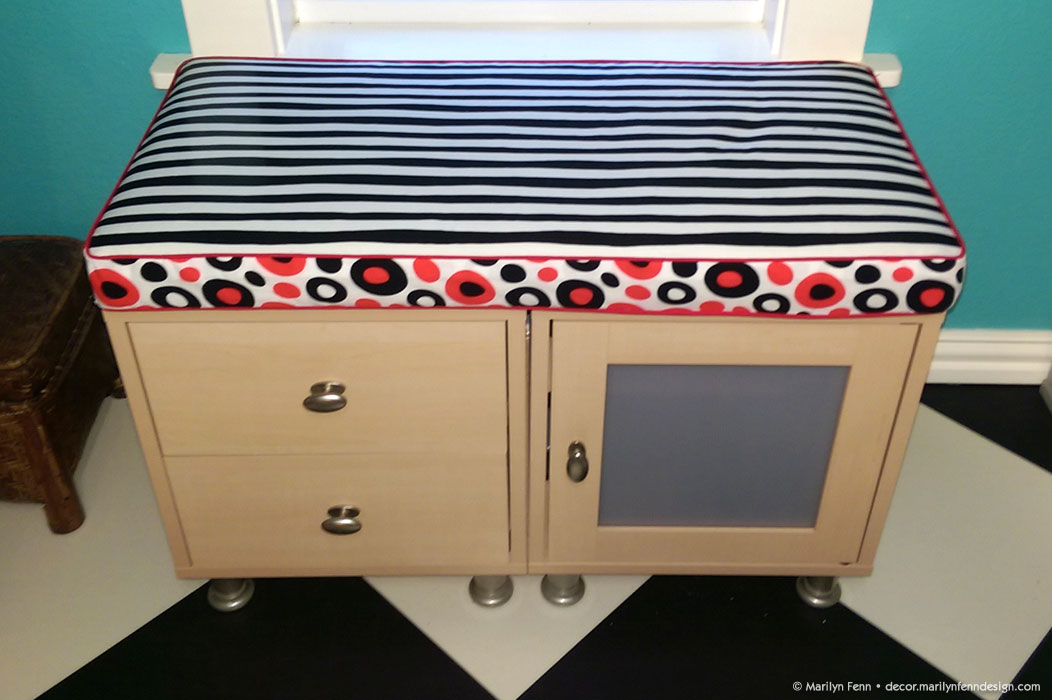
Cushion done and in place

Leave a Reply