My ancient sleeve board’s covers have seen better days — I mean, really, what ratty covers! So in gearing up for a new round of sewing projects, I decided to buy new covers for the two parts of the sleeve board. I did find some online at Amazon and one other shop, but they wanted over $50.00 just for the covers! That’s crazy expensive, so I decided to make my own.
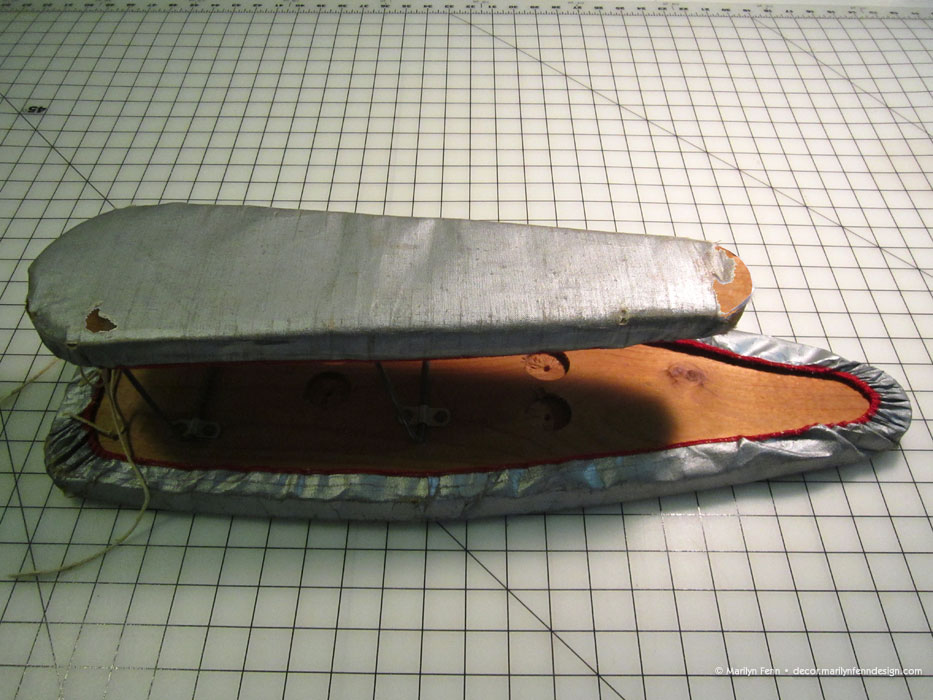
Sleeveboard with old covers
I found some “Iron Quick Fabric” (silver ironing board material: 100% aluminum with 100% cotton backing) and some “Insul-Bright” (heat resistant 100% polyester insulating material with mylar) at Nancy’s Notions. I removed the old covers, flattened and ironed them, and then used them to make patterns from, adding a 5/8″ seam allowance all around, as I planned to use elastic in mine instead of a pull-string affair that somehow was sewn into an edge of stitching on the original covers.
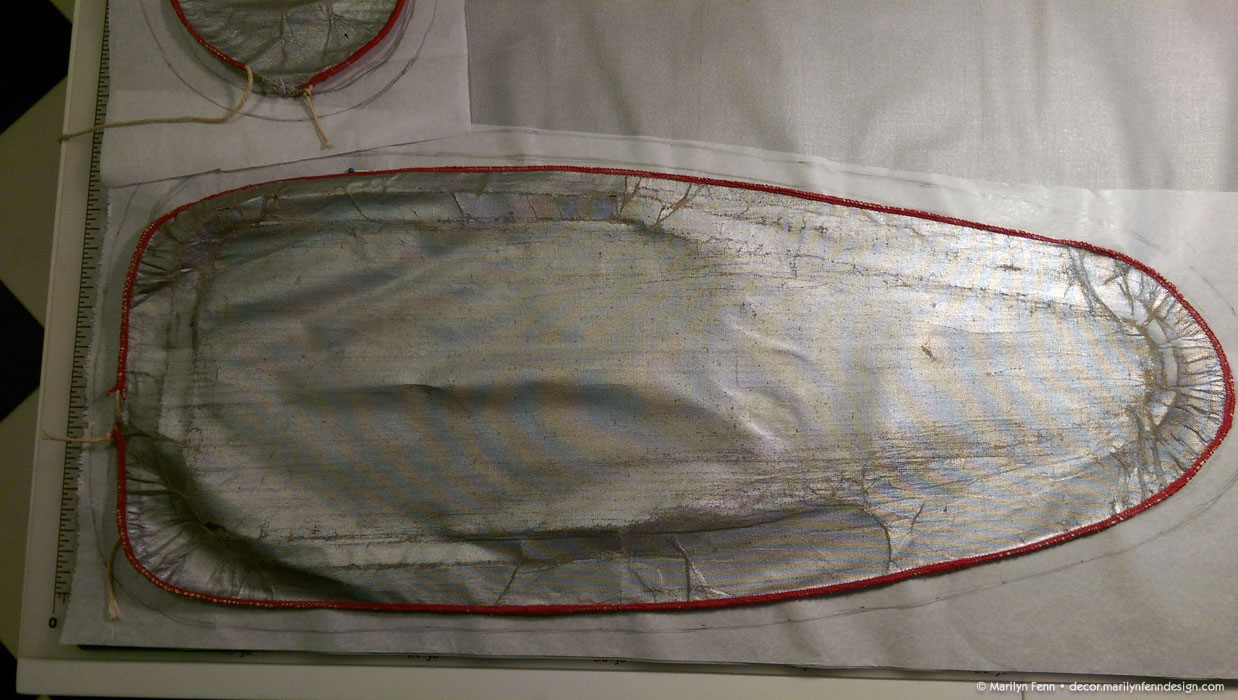
Sleeveboard – source compared to pattern (large)
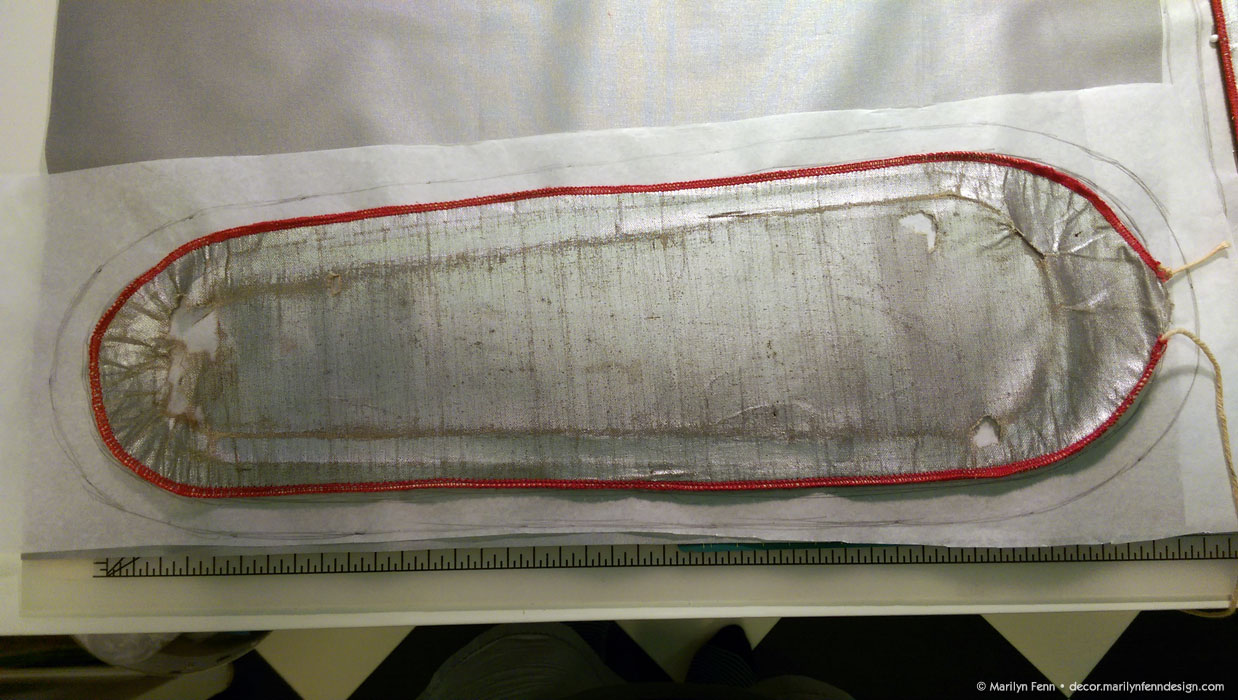
Sleeveboard – source compared to pattern (small)
I cut out the fabric using my rotary cutter (it worked great on the curves!), then sewed a gathering stitch in the edges of the curved sections, pulled the gathers into the seam allowance and stitched that down, leaving an opening to insert the elastic.
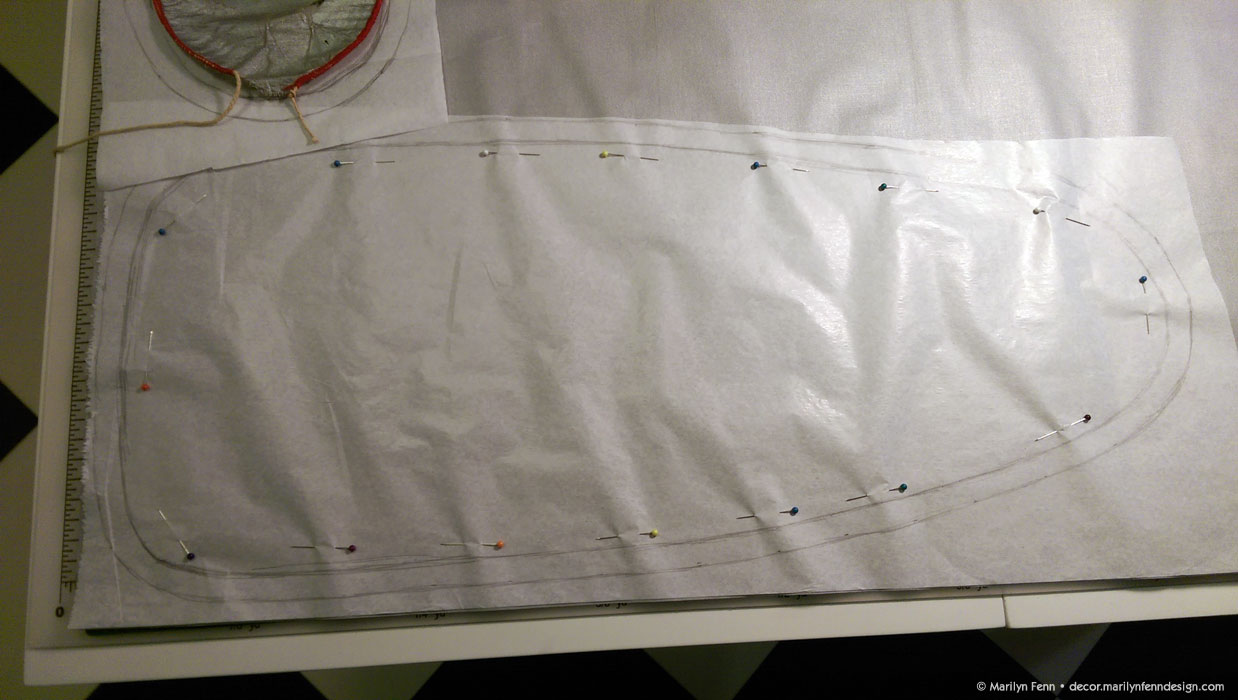
Sleeveboard – with pattern pinned (large)

Sleeveboard – with pattern pinned (small)

Sleeveboard – first piece cut (small)
I got to use a bodkin for the first time in my life on the larger cover, but I made the casing a tad too tight in one tiny area of the smaller cover, so I had to resort to the old tried and true safety pin-attached-to-elastic to pull that one through.
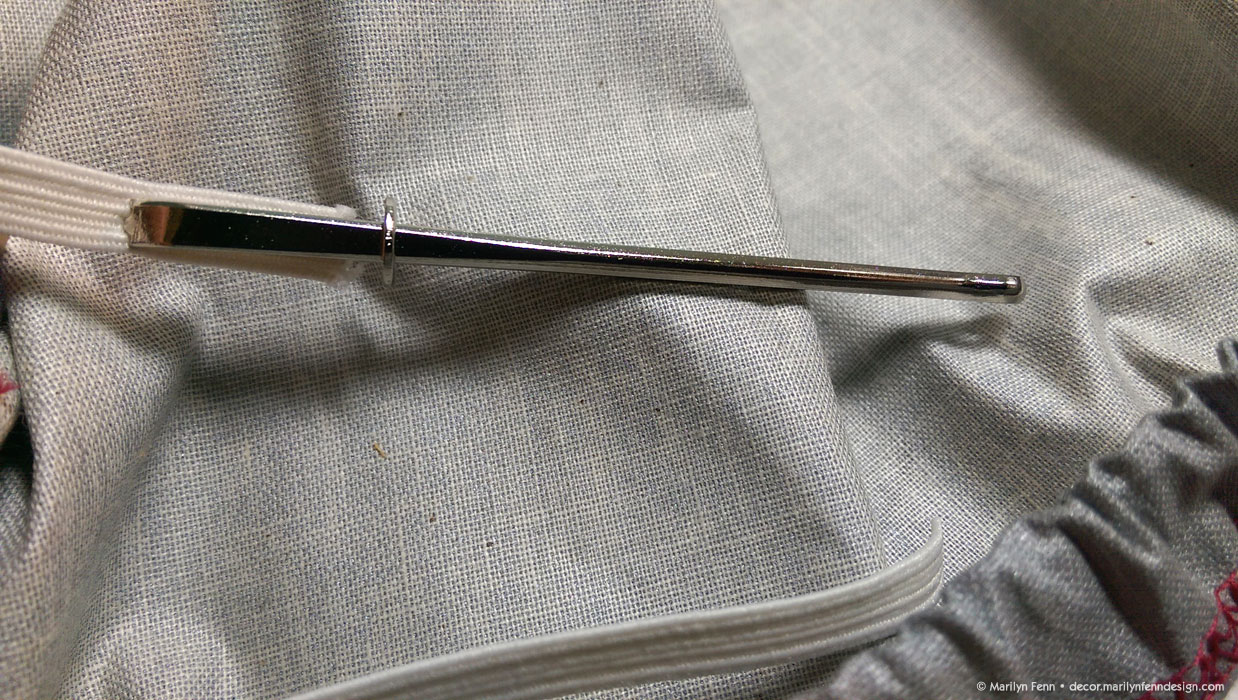
Bodkin – at work
There was a nasty browned and crumbling bit of foam padding stuck on the surfaces of the sleeve boards, so I scraped that off, then sanded the boards smooth again. I used Spray-Mount to attach the new insulated foam padding to the board surfaces.
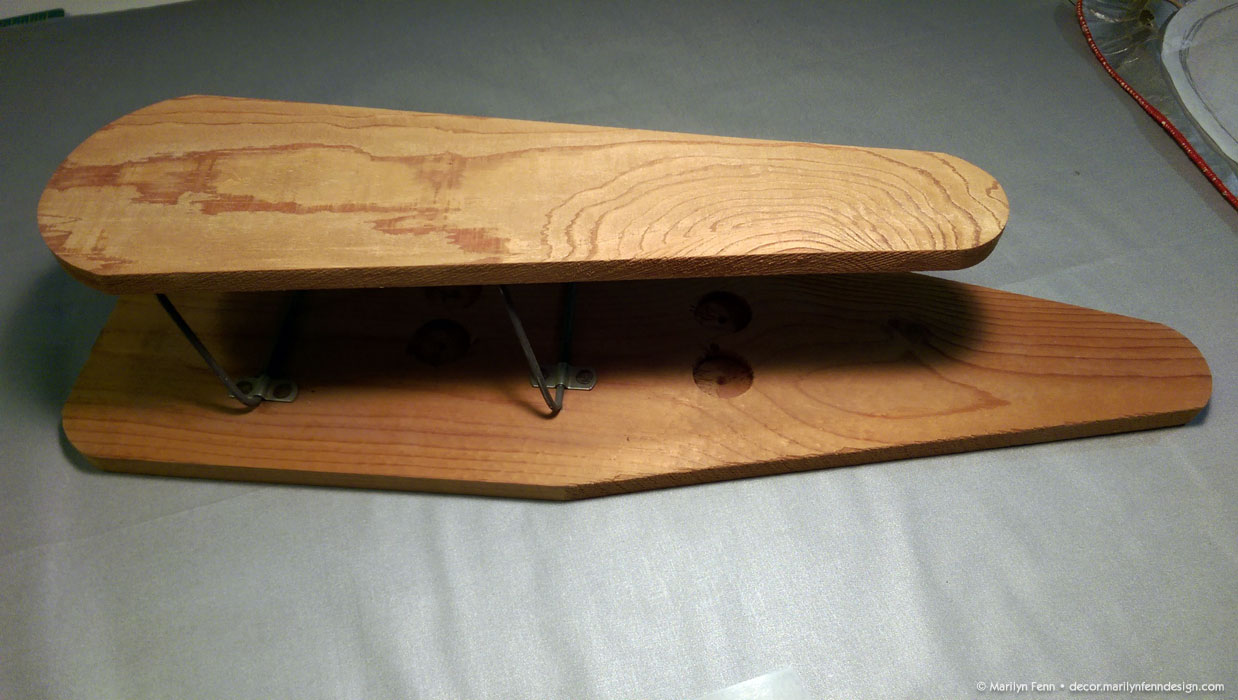
Sleeveboard – cleaned off and sanded
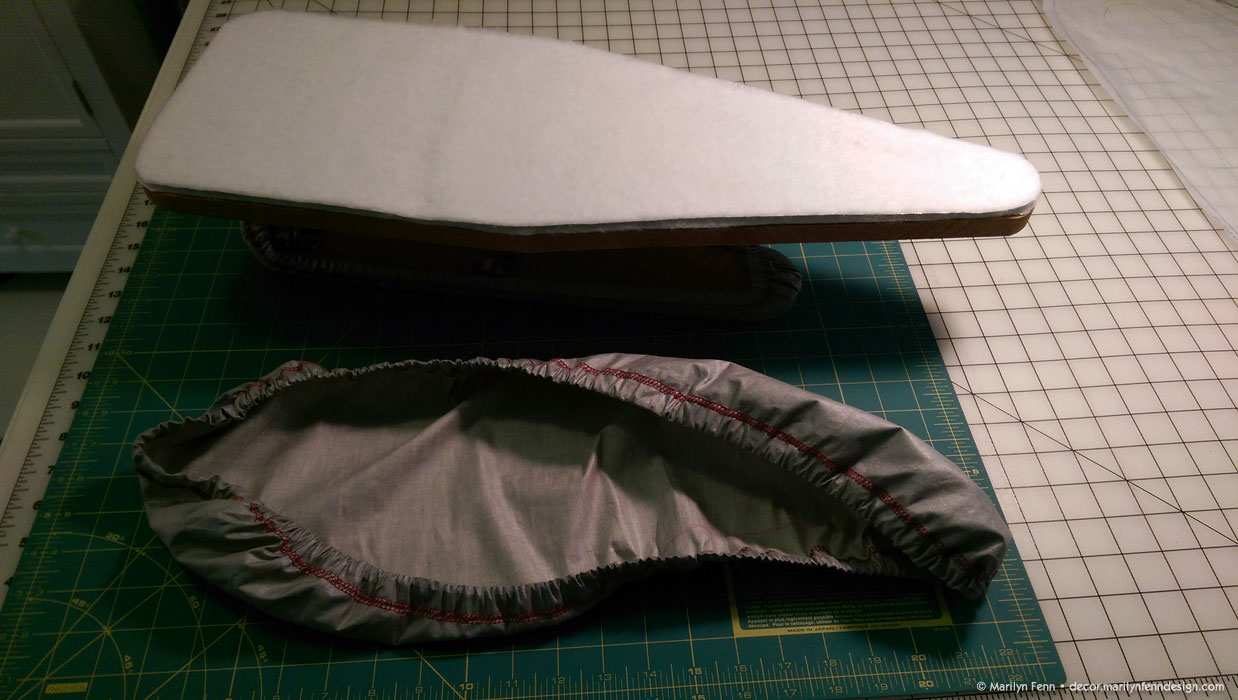
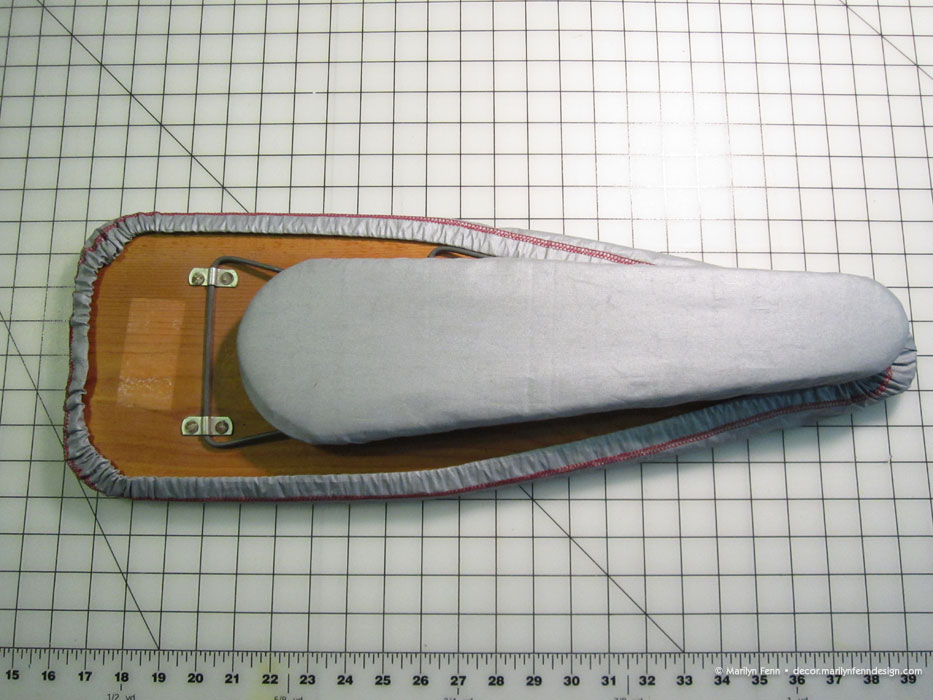
Sleeveboard – with insulated padding and unapplied finished cover
Small, easy job with a cost in materials of probably about 5 or 6 dollars, not counting the elastic I already had on hand. Et voila!
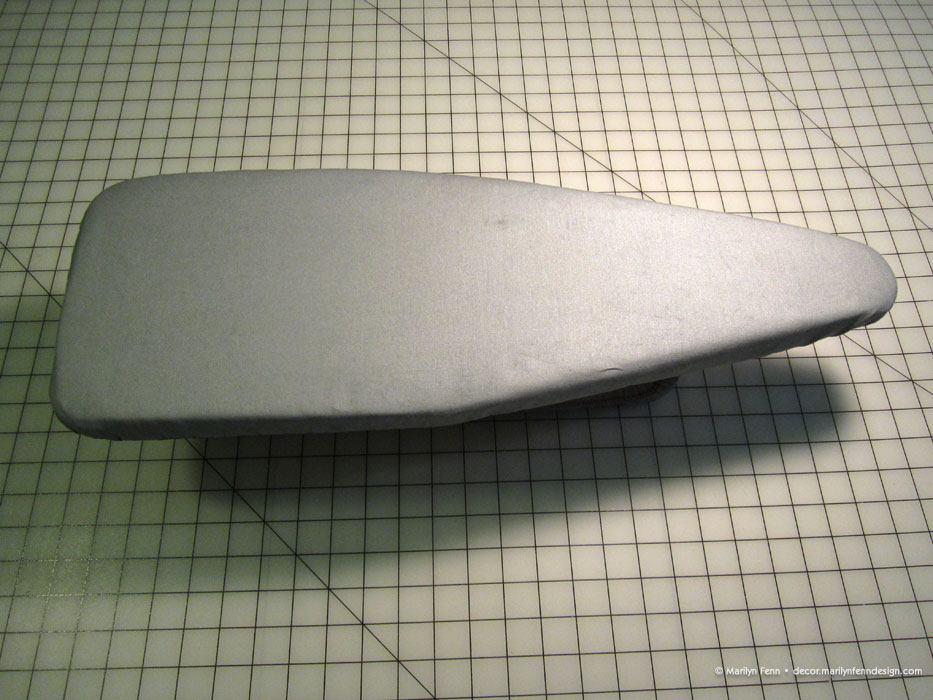
Sleeveboard with new top cover
Sleeveboard with new covers

Leave a Reply